Oh my gosh, if you’re anything like me, you’ll get in a total kerfuffle when it comes to gift wrapping presents. I make such a pigs ear out of it, ending up with rips and tears and Sellotape stuck all over the place .
SO today’s post comes as a great relief. It’s a step-by-step tutorial on how to gift wrap your wedding presents creatively. yay! Now you’ll be able to hand over those lovely little thanks you’s you so thoughtfully chose for your bridal party.
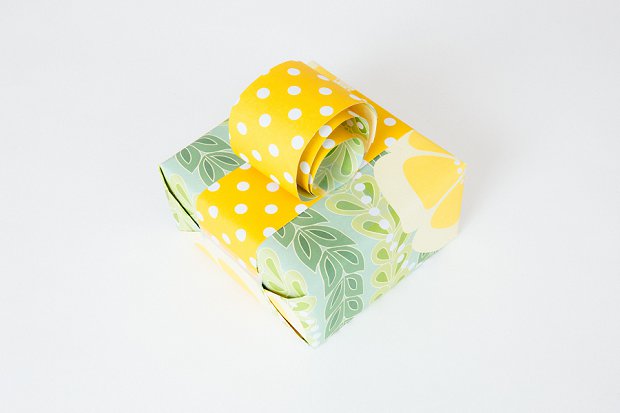
CREATIVE GIFT WRAPPING MADE EASY
Sometimes wrapping even the simplest of gifts can be difficult, with ripped paper and sticky tape tangles being common problems. But gift wrapping needn’t be stressful, especially when we’ve put so much effort into choosing the perfect gift in the first place.
Gift wrapping specialist, Jane Means, shares her top tips for wrapping a gift in style to create a professional finish in just a few minutes!
You will need:
A boxed gift
Wrapping paper (ideally with a double sided pattern although paper with a white backing is sufficient)
Scissors
Scotch Magic Tape
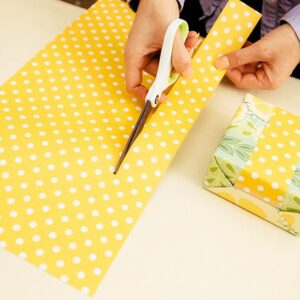
1) First you need to check there is enough paper to cover the top of the box. (Tip: if you want to check your paper is long enough, cut a small strip, from the edge of the full length of paper and wrap it around your box. If the edges overlap you have enough paper).
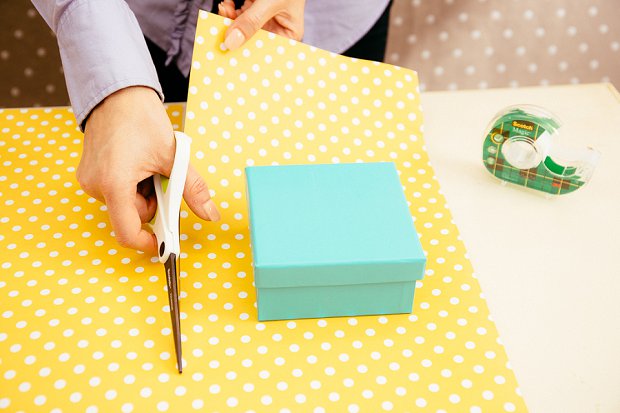
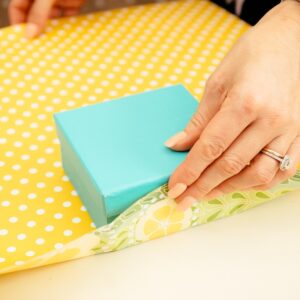
2) Next you need to check you have enough paper for the sides of the box. To do this place your box on the giftwrap and lift the side of the paper up, so it matches the same height as your box on each side and cut your paper to size.
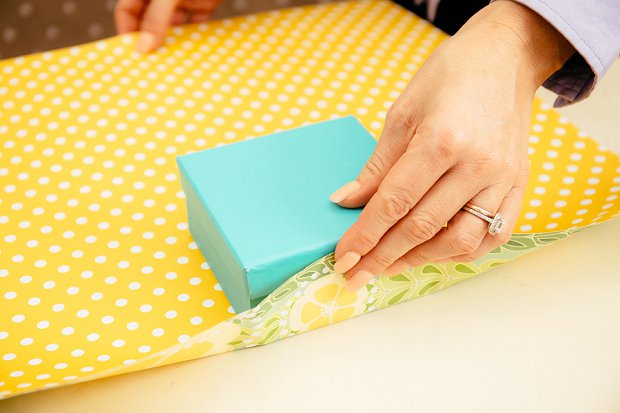
3) Next take one edge of the paper and fold it back on itself to create a contrasting strip.
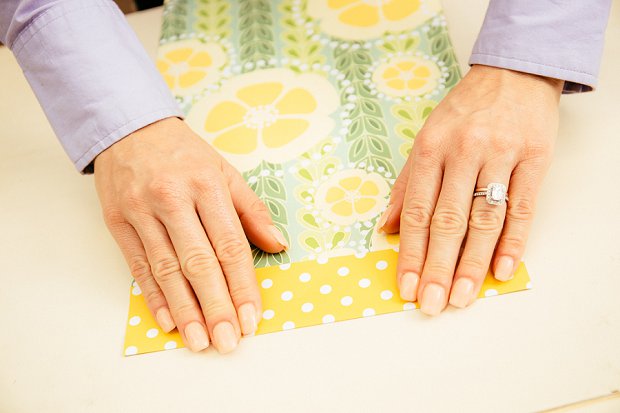
4) Place the box back on the paper and tuck one end under the other ensuring the contrasting strip is left exposed in the centre of the box.
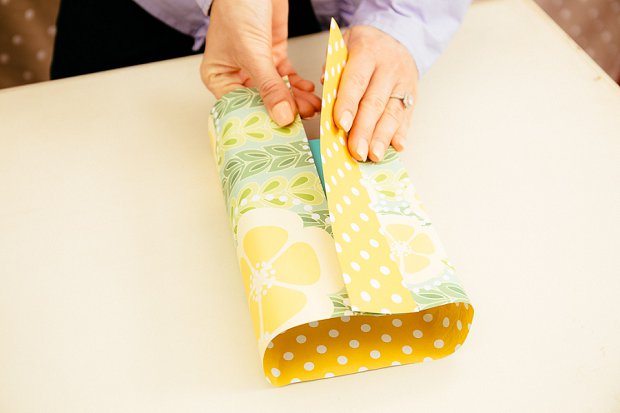
5) Take your finger and thumb and make crease marks along each edge of the box to create clean smooth lines.
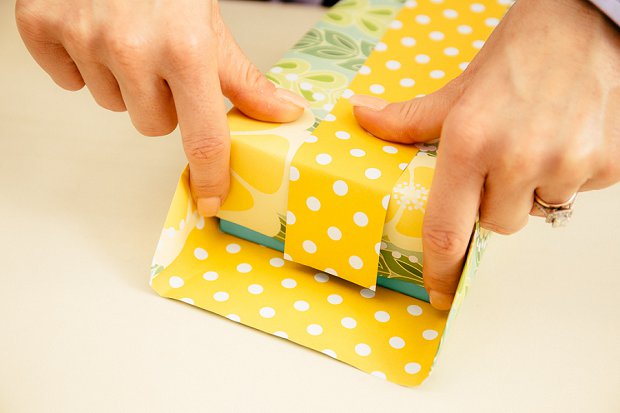
6) Next come the sides of the gift. Fold down the top of each end of paper ensuring it does not hit the bottom. If the paper does catch just trim it until it folds neatly down.
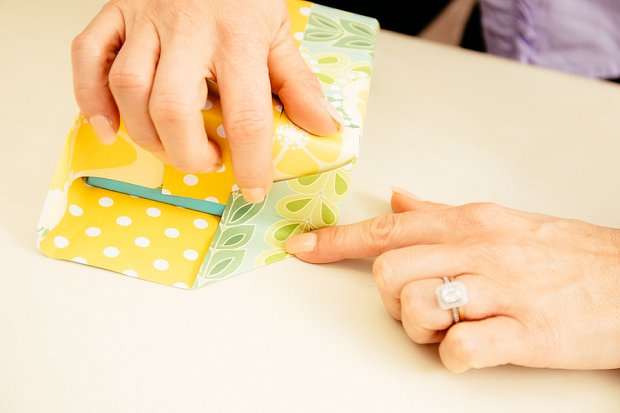
7) Fold in the sides of the paper next followed by the bottom piece.
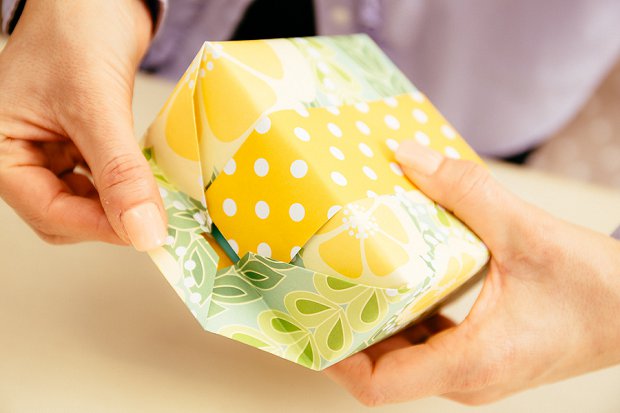
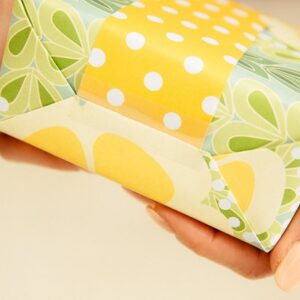
8) Now all of the paper is folded you want to create the perfect ends. You’ll see a V shape either side of the end. In the middle of the V, turn the paper back on itself so it matches perfectly, then refold to create a flawless join.
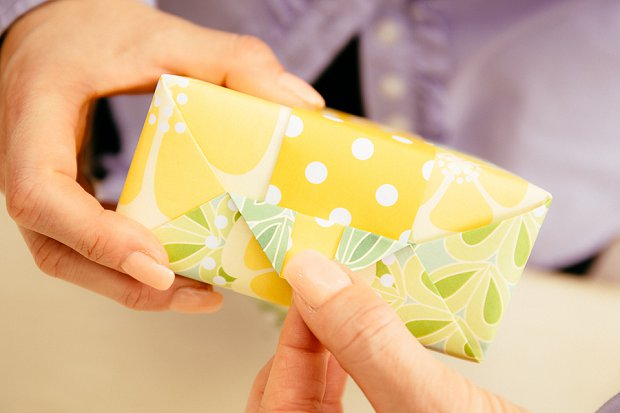
9) Secure the ends with Scotch Magic Tape. Don’t worry if you make a mistake when applying it, the tape is instantly repositionable so you can just peel it off and reapply without ruining your handiwork. The tape is also invisible on matte paper, so won’t distract from your beautiful wrapping.
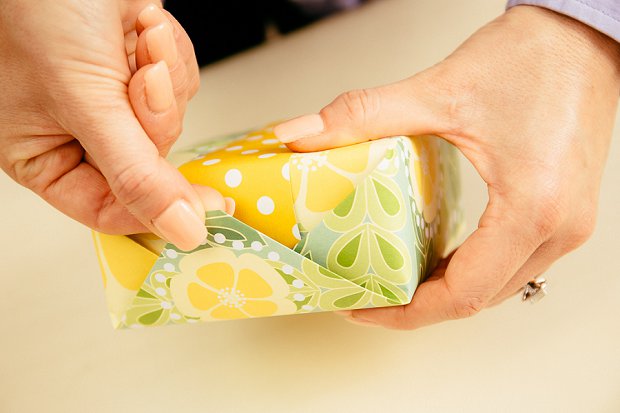
10) Repeat for the other end.
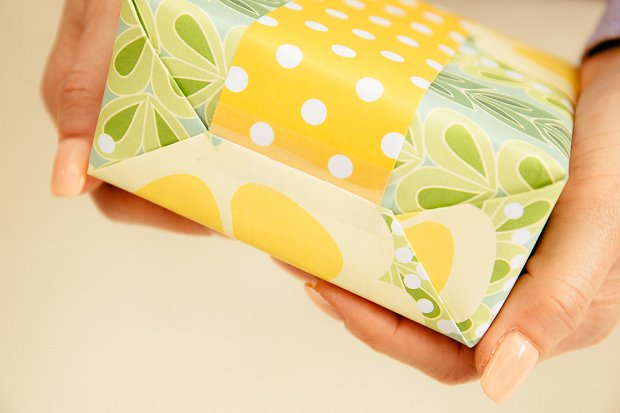
11) To add a finishing decorative touch to your gift, cut a strip of paper the same width as the contrasting band.
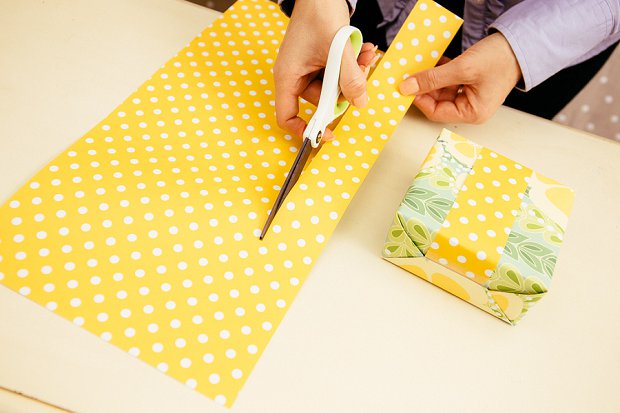
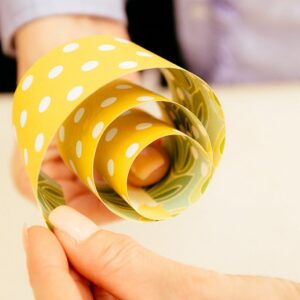
12) Form a series of three circle ‘loops’ around your fingers, each one a little bigger than the last, ensuring you leave enough space in the first circle to slide a strip of tape through. Make sure the two ends of the circle overlap.
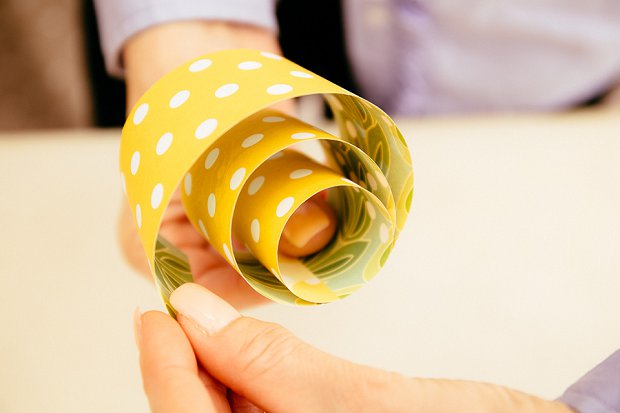
13) Hold the circular decoration with one hand and place a piece of Scotch Magic Tape inside the circle with your other hand and stick down to secure your shape.
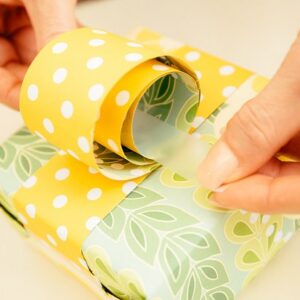
14) Place the shape in the centre of the gift in line with the contrasting strip. Feed a strip of Scotch Magic Tape through the hole and stick to the gift.
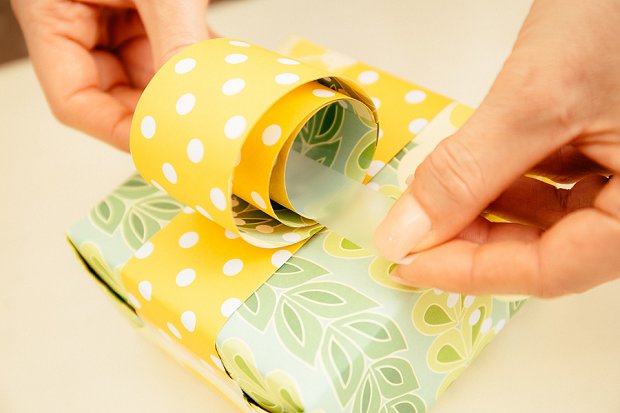
15) If the tape accidentally sticks somewhere it shouldn’t simply peel it off and reposition.

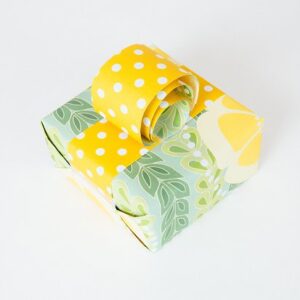
16) And there you have your stunning gift!
For more ideas and inspiration on how to use Scotch Magic Tape for a range of everyday uses visit www.facebook.com/ScotchUK.
3M, Scotch and Magic are trademarks of 3M Company.

**this is a sponsored post**
 View the Gallery




Great post Sonia. I am rubbish when it comes to wrapping gifts, so this has given me some hope and inspiration! x
Great idea!!
Comments are closed.