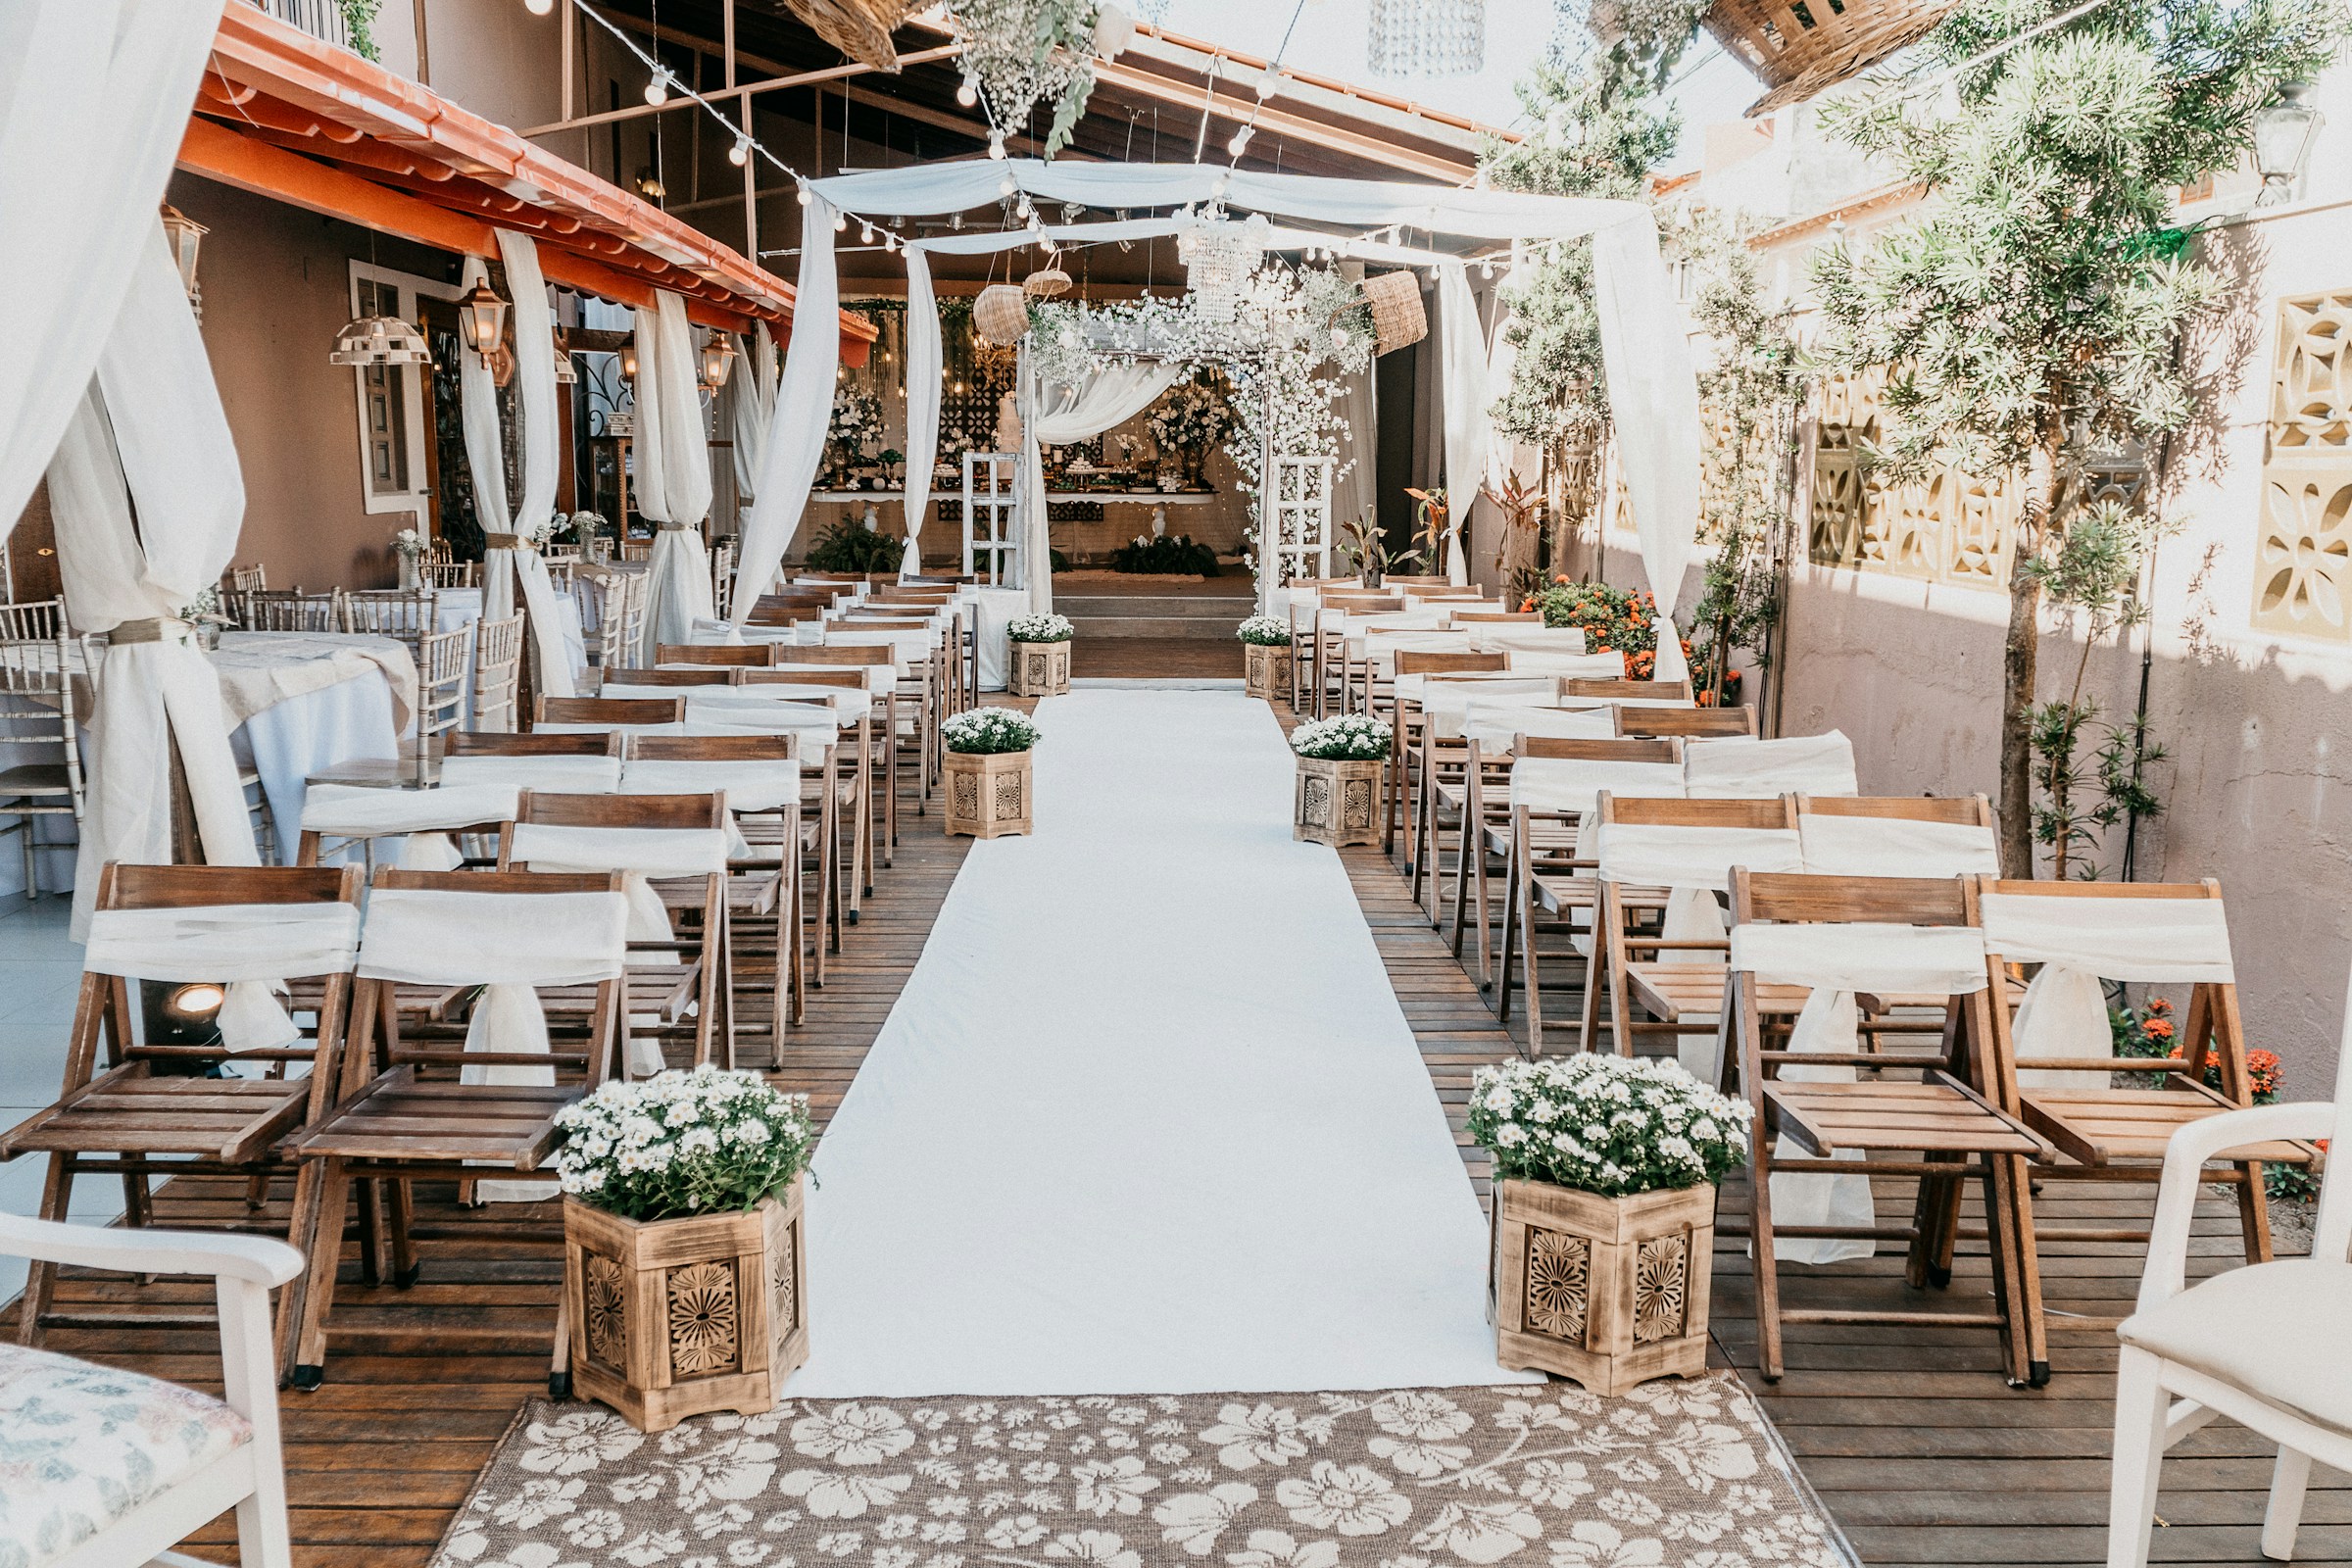
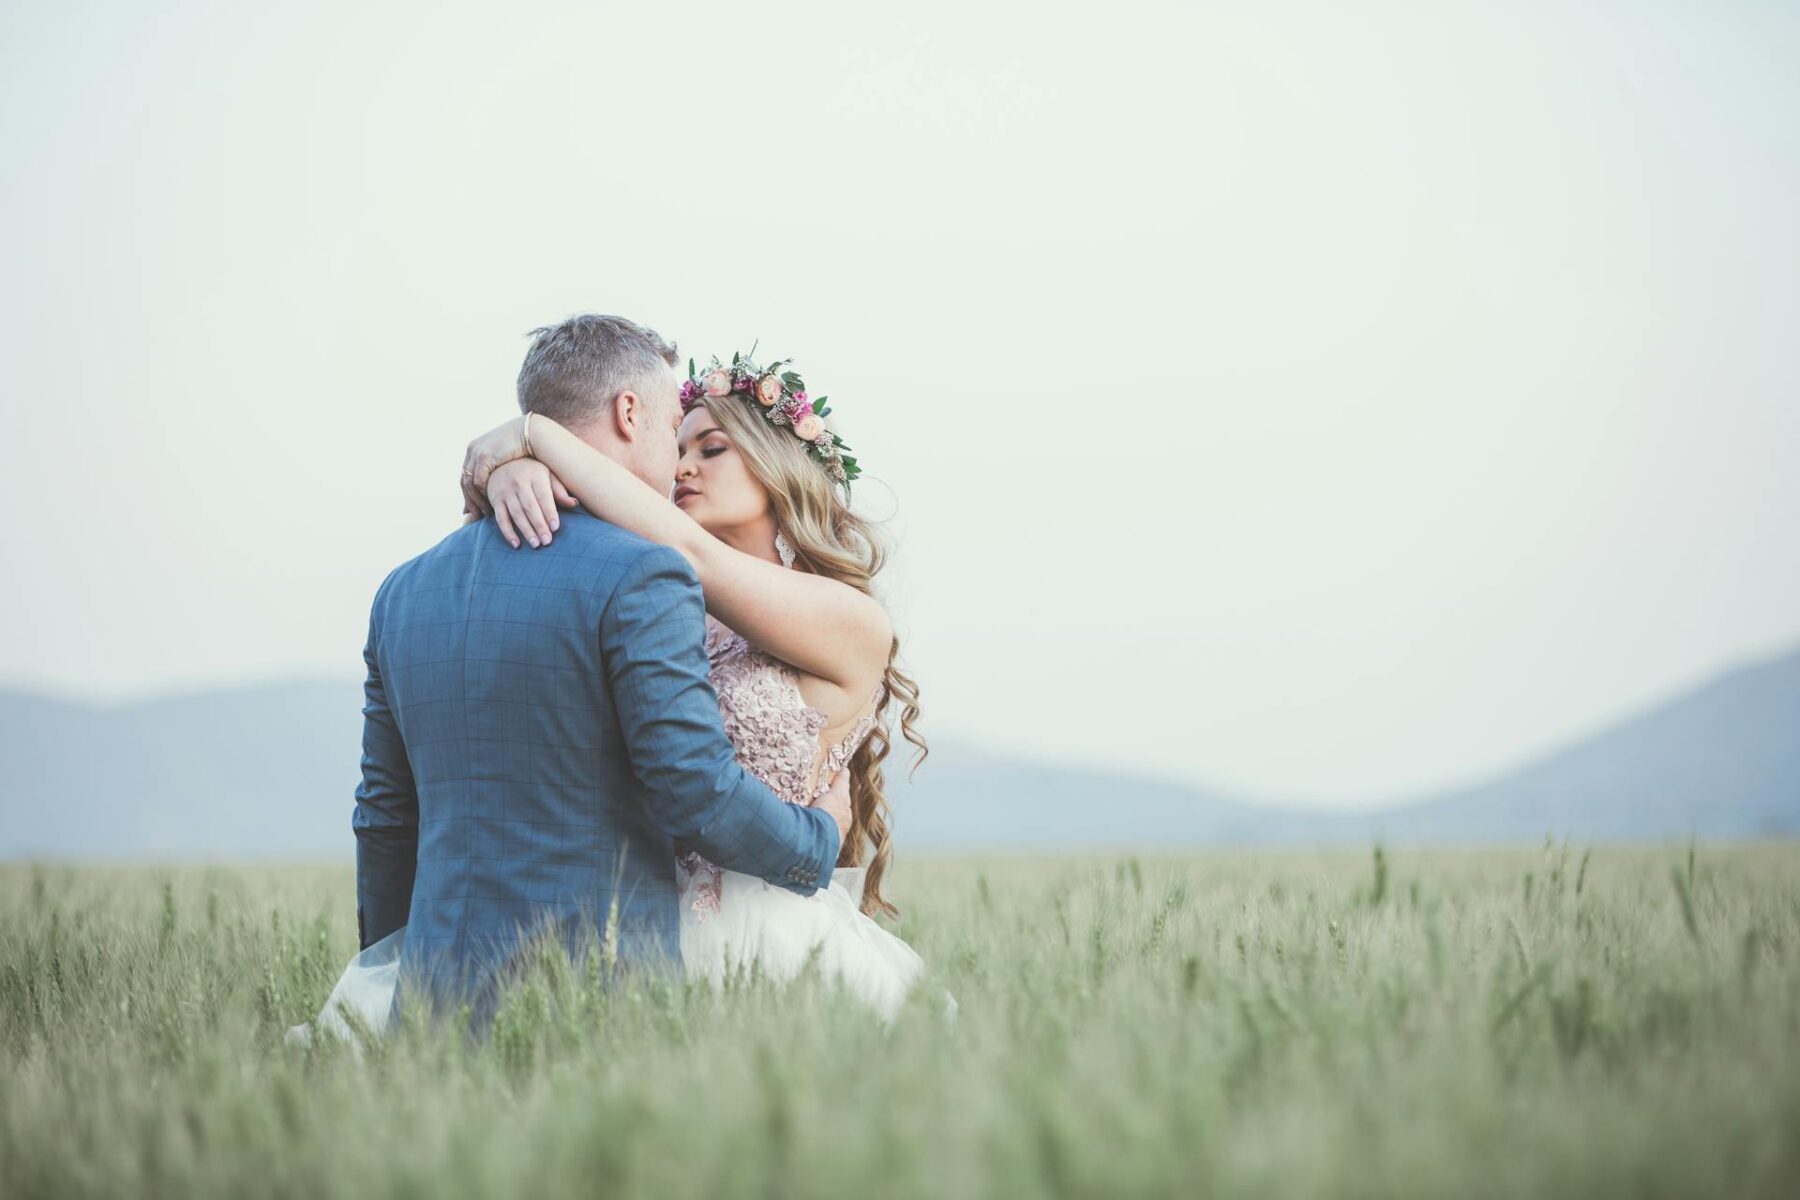
Image Source: Unsplash
Planning your big day is all about bringing your unique love story to life, and nothing adds a more personal touch than custom-made decor. DIY projects can help you create stunning, personalized wedding decorations that reflect your style and bond as a couple.
Whether you’re looking to craft elegant table centerpieces or customized favors, these projects can turn ordinary items into extraordinary keepsakes. Not only do they add charm and character, but they also offer a fun way to involve friends and family in the preparation process.
Top3 D-I-Y Projects For Stunning Wedding Decor
These three DIY projects will help you create stunning and meaningful decorations that reflect your unique love story. Let’s explore how you can make your big day truly unforgettable!
1. Customized Favors
Handmade gifts have a personal touch that store-bought items simply can’t match. Plus, making favors yourself can be an enjoyable activity leading up to the big day. One idea is to create personalised t-shirts for your guests. These can have funny quotes or your wedding date.
Here’s how to make some unique wedding favors step-by-step:
- Choose Your Favor: Decide what kind of favor you’d like to give – whether it’s soaps, candles, jars of honey, or customized t-shirts. Make sure it’s something practical.
- Gather Materials: For example, if you’re opting for handmade soaps, you’ll need soap bases, molds, essential oils, and decorative wrapping material.
- Design Personalization: Create unique designs or labels featuring elements important to both of you, such as initials, wedding dates, or favorite quotes.
- Craft the Favors: Dedicate some time each week leading up to the wedding specifically for crafting these items together – or enlist the help of friends!
- Wrap Beautifully: Presentation is key! Use attractive bags or boxes and add tags with sweet messages to give the favors a polished look.
Creating these thoughtful touches will leave a lasting impression on your guests!
2. Custom Table Centerpieces
Creating custom table centerpieces offers an opportunity to infuse your decor with personal touches that tell your love story. Whether you’re opting for classic elegance or something more quirky, making these yourself allows you to bring a truly memorable aesthetic to each table.
Here’s a step-by-step guide to crafting beautiful custom table centerpieces:
- Materials Needed: Gather vases, jars, or containers of different shapes and sizes, flowers (either fresh or artificial), greenery such as eucalyptus, decorative items like candles or fairy lights, ribbon or twine for accents, scissors or floral shears.
- Choose Your Theme: Decide on a theme that complements your wedding style. This could be rustic with mason jars and wildflowers or elegant with crystal vases and roses.
- Prep Your Flowers: If using fresh flowers, trim the stems at an angle under running water. Strip leaves from the lower part of the stems so they don’t sit in water.
- Arrange Base Elements: Start by placing any larger items like candles or significant pieces of greenery into your container. This helps form the base structure of your piece.
- Add Focal Flowers: Insert one type of flower at a time, beginning with focal blooms. Ensure they’re evenly distributed while keeping some height variance for visual interest.
- Fill in With Secondary Flowers and Greenery: Add secondary flowers next, along with any additional greenery needed to fill gaps. Rotate the container as you work.
- Final Touches: Secure lighter decorative elements like fairy lights by winding them through the arrangement carefully without tangling them up in stems.
By making custom table centerpieces yourself, you save on costs and add meaningful touches reflective of who you are as a couple enhancing every guest’s experience overall.
3. Personalized Signage
Creating personalised signage for your wedding adds a unique touch that welcomes guests and guides them through your special day. Whether it’s a welcome sign, directional arrows, or seating charts, custom signs can be both functional and decorative.
Here’s how you can create beautiful personalized signage step-by-step:
- Materials Needed: Gather wooden boards or canvases, acrylic paints, paintbrushes, stencils for lettering, painter’s tape for clean lines, and clear sealant spray.
- Choose Your Design: Start by deciding what type of signs you need and their designs. Sketch out ideas on paper first – think about incorporating quotes, names, or dates.
- Prepare Your Surface: Sand down any wooden surfaces to ensure they’re smooth before painting. For canvases, apply a base coat in your chosen color and let it dry.
- Create Clean Lines: Use painter’s tape to mark off sections if you’re creating borders or blocks of text. This will help you keep lines crisp and neat.
- Paint Your Base Layers: Apply the background colors using broad strokes with larger brushes. Let each layer dry thoroughly before moving on to adding details.
- Add Lettering and Designs: If using stencils for lettering, secure them firmly on the surface with painter’s tape. Paint over them carefully with smaller brushes; remove the stencils gently once dry to avoid smudging. Freehand artists can use fine-tip brushes.
- Seal Your Work: Once everything is dry, apply a clear sealant spray to protect your artwork from smudging or fading over time. Follow the product instructions carefully.
By investing time in creating personalized signage, you’ll enrich the atmosphere of your wedding while making sure every guest feels welcomed and well-informed throughout the celebration.
These DIY Projects are Both Fun and Easy
Now that you have some inspiring DIY projects under your belt, it’s time to roll up your sleeves and start crafting! These personal touches won’t just beautify your wedding day but will also create lasting memories for both you and your guests. Remember, it’s not about perfection; it’s about the love and effort you pour into making your celebration uniquely yours.
