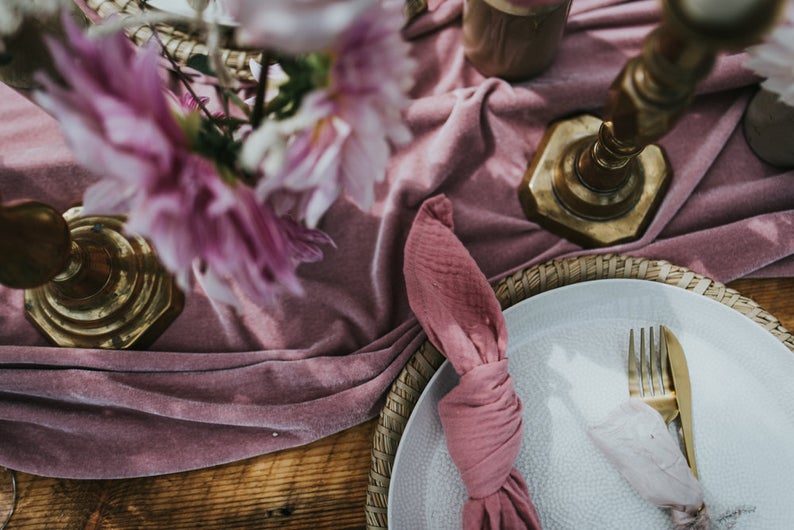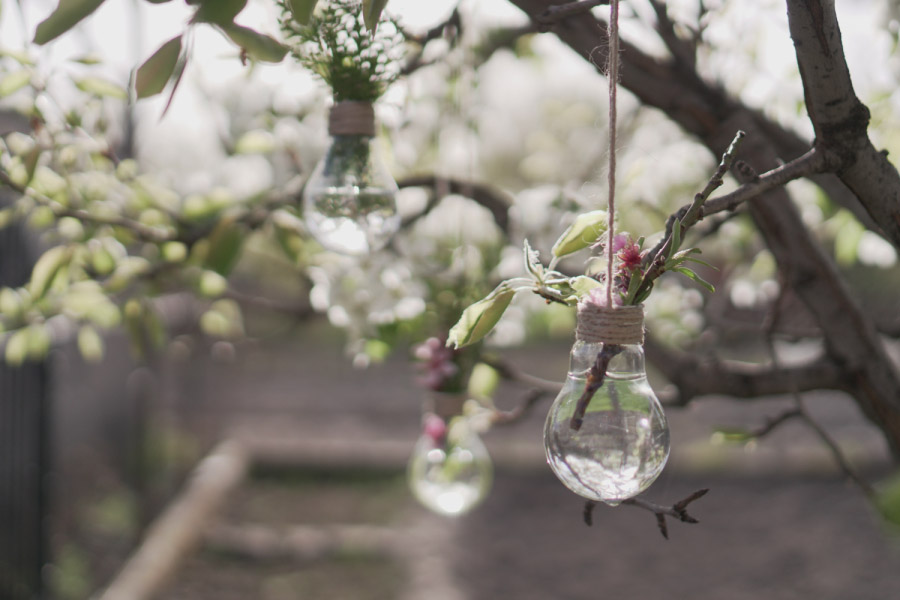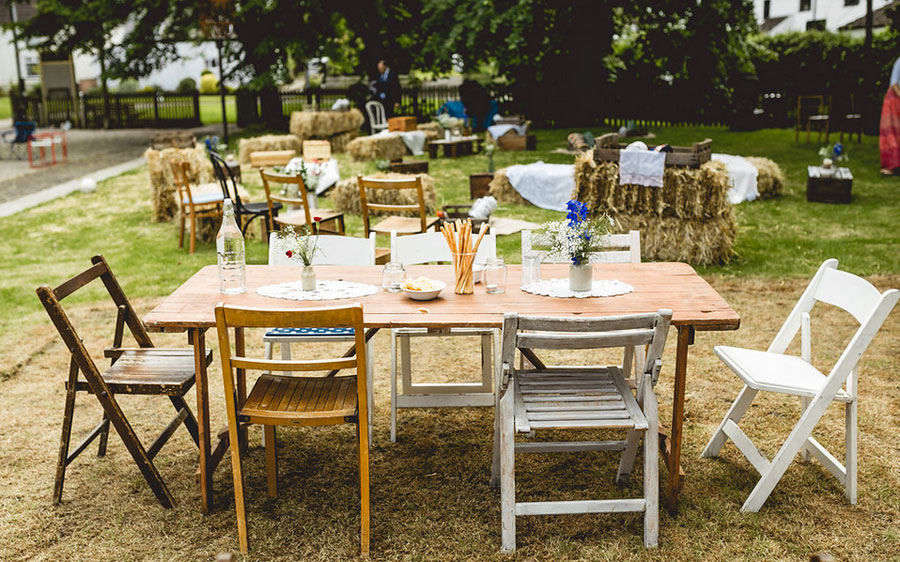

It’s the perfect tutorial for any bridetobe planning an outdoor boho wedding or garden inspired wedding!
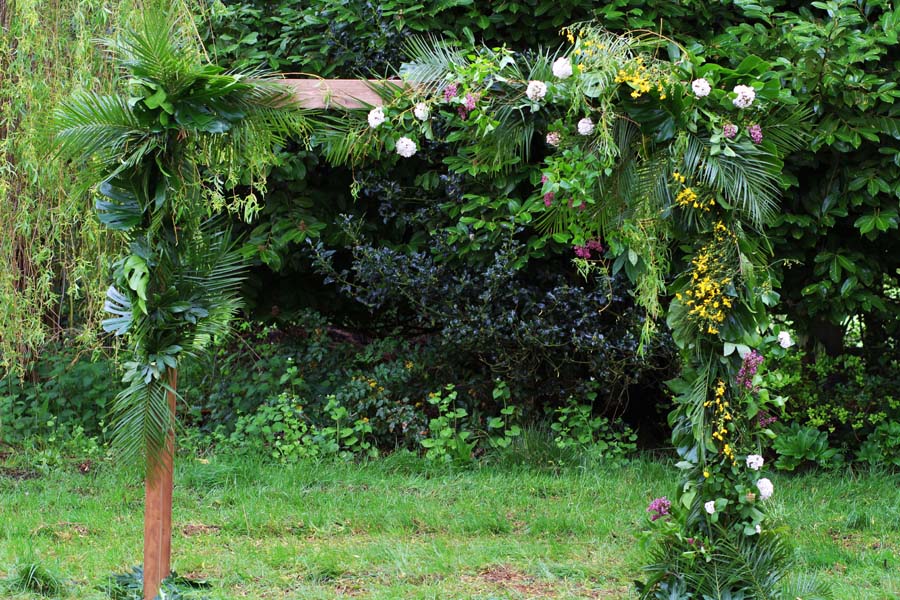
DIY FOLIAGE ARCH TUTORIAL
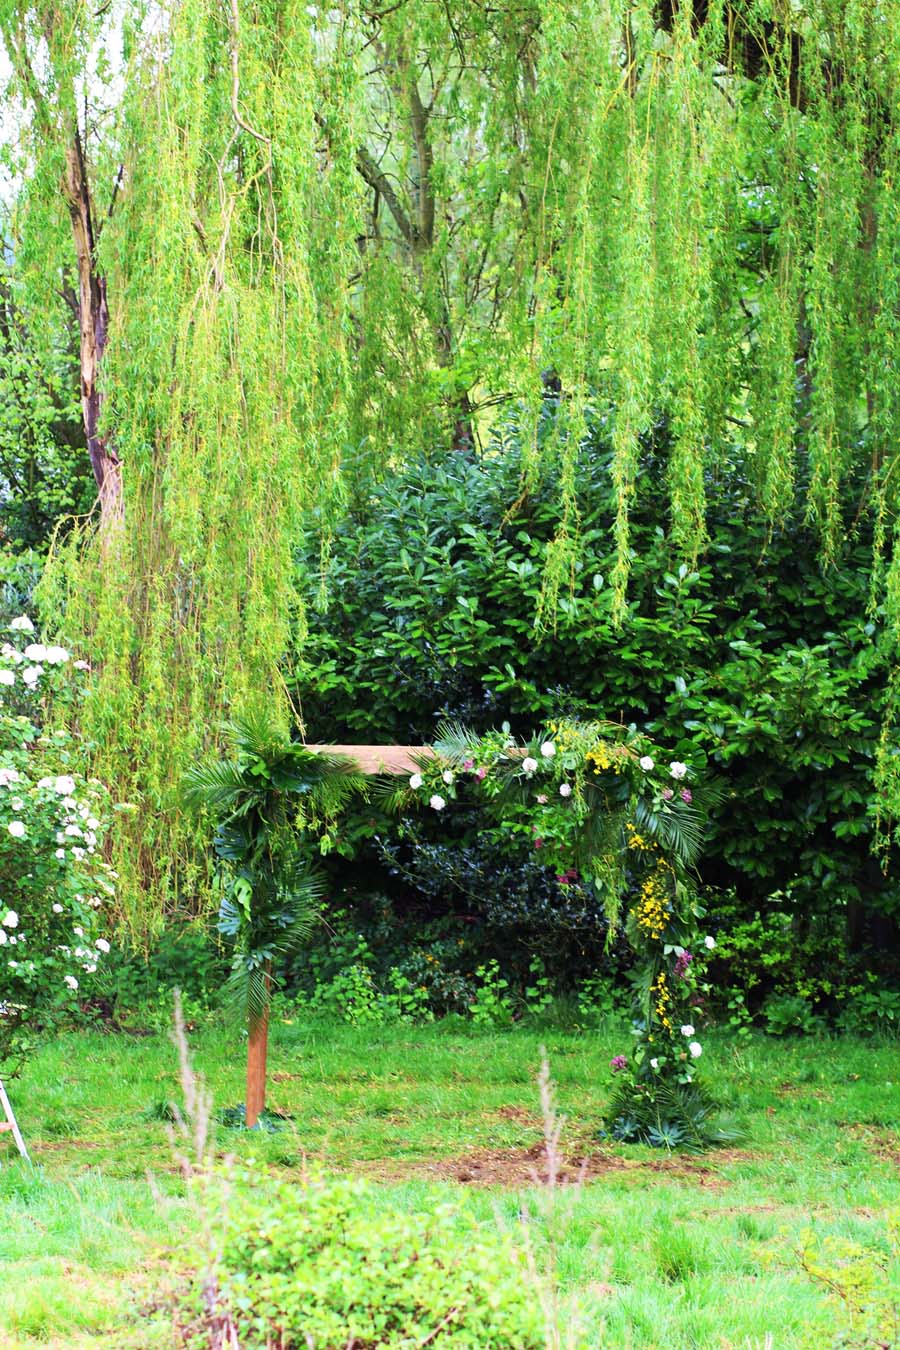
Floral arches don’t always have to be created using expensive flowers. For a stylish alternative which can be kinder to your purse, we like to create stunning arches for our couples to marry under, using just lush green foliage with stacks of character and interesting textures.
The arch we created today is actually really easy to do yourself if you are arranging your own flowers on your wedding day. The key is simplicity and only using a few varieties of green leaves, and if you can’t resist some pretty blooms we’ll show you how to integrate some garden flowers into your arch too.
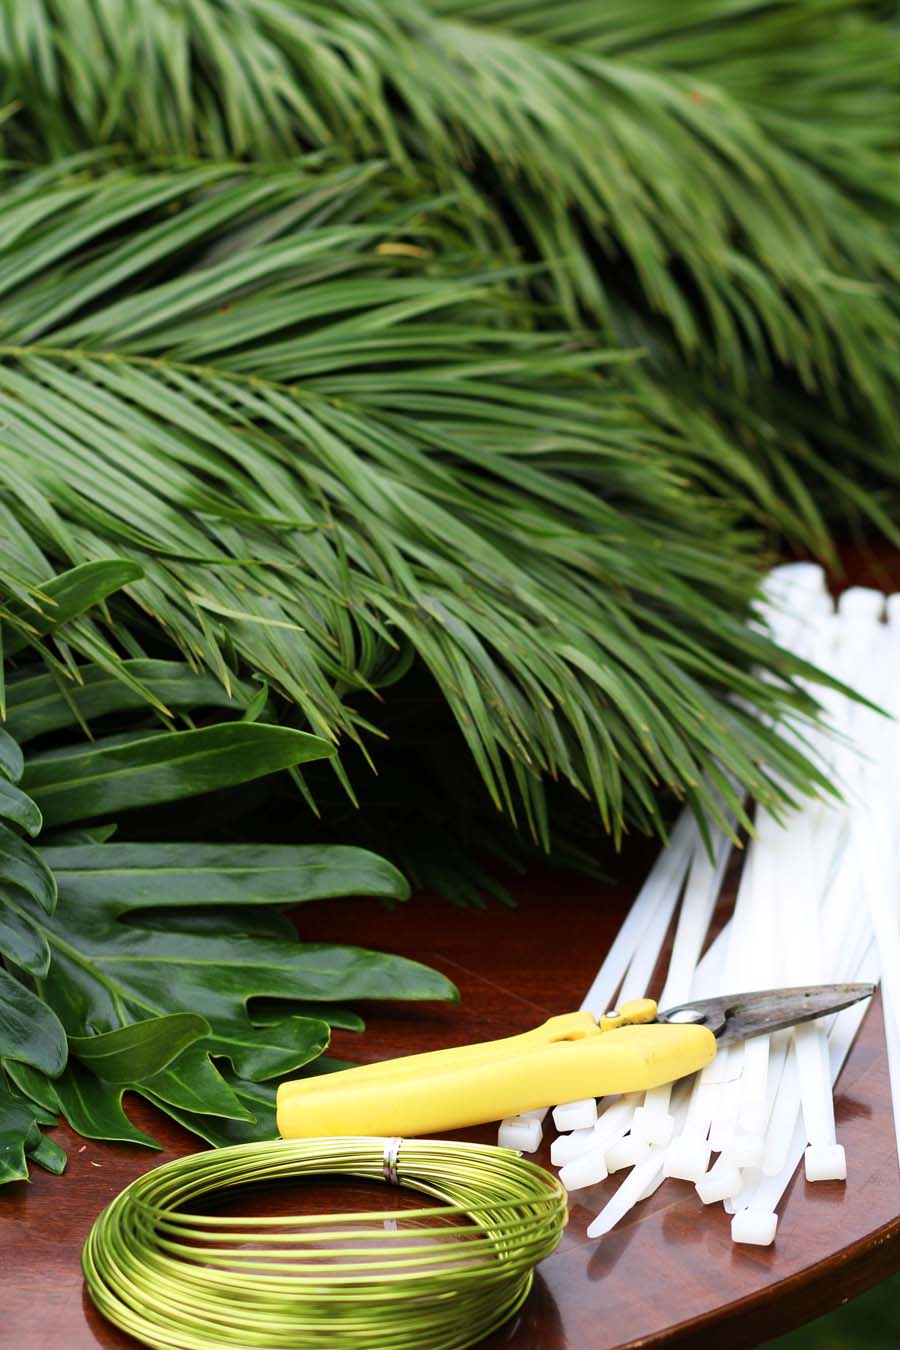
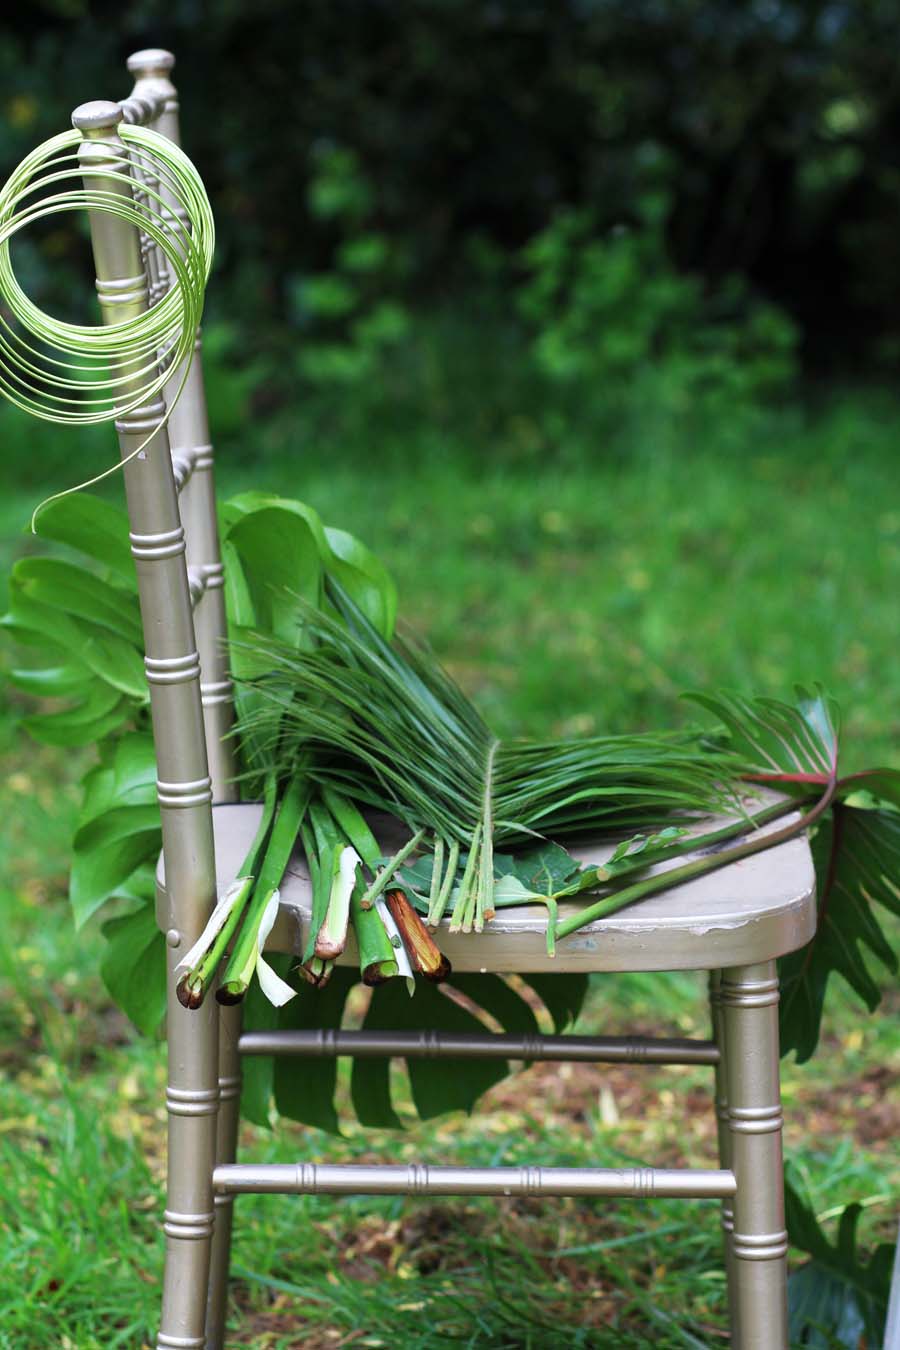
You need the following ingredients to make your arch:
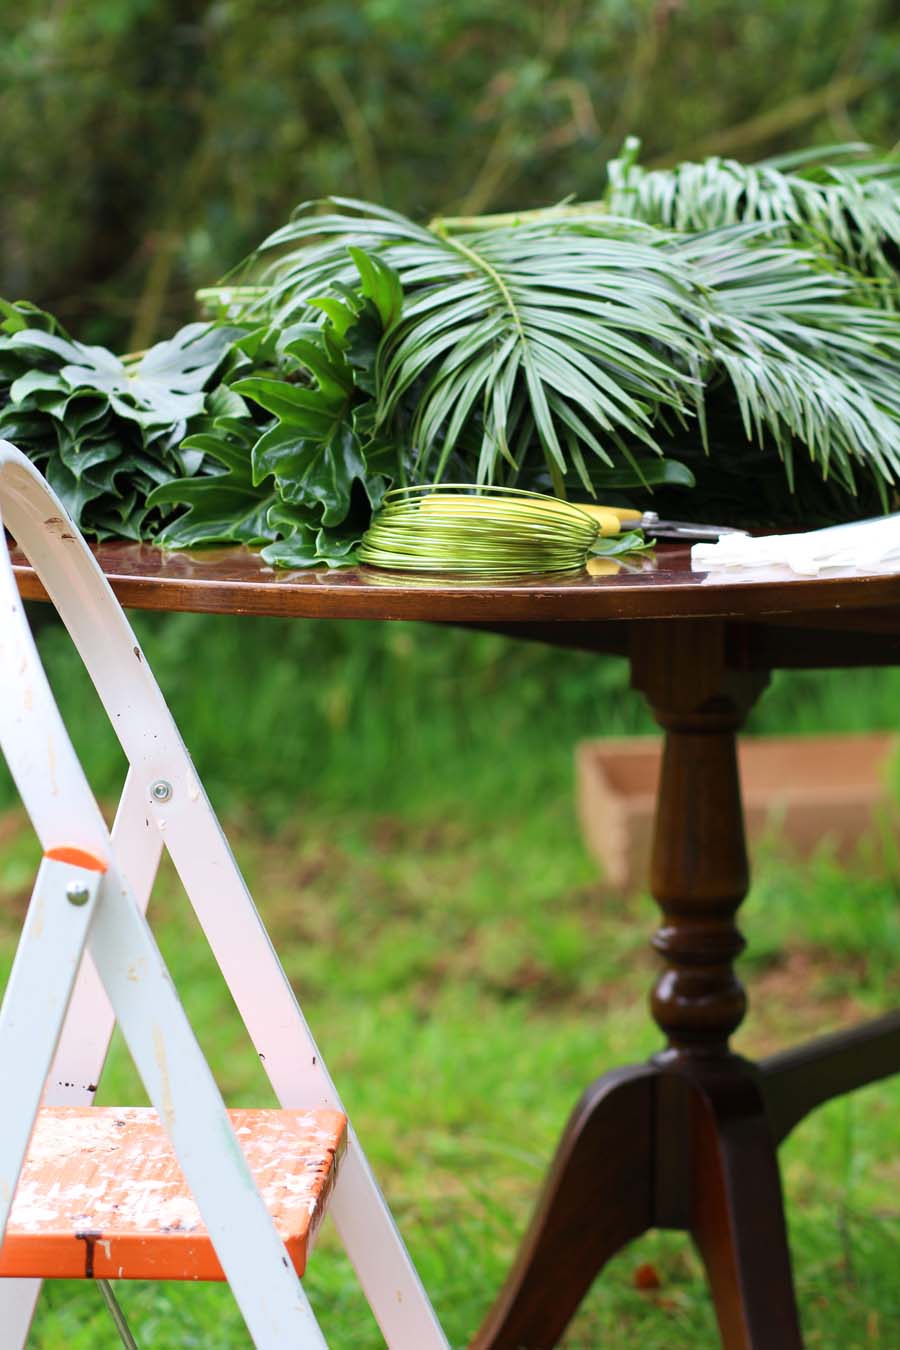
– Floral water tubes
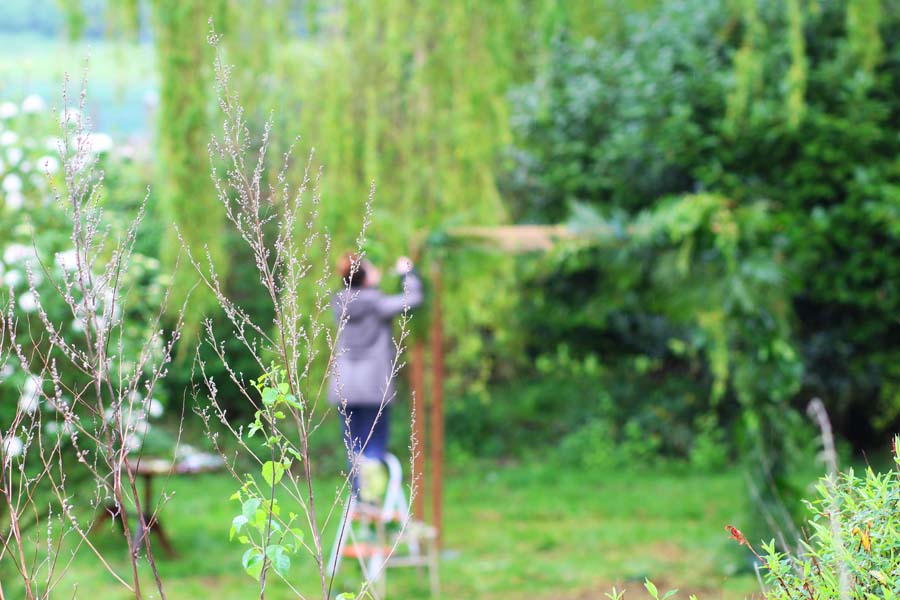
– Step ladders
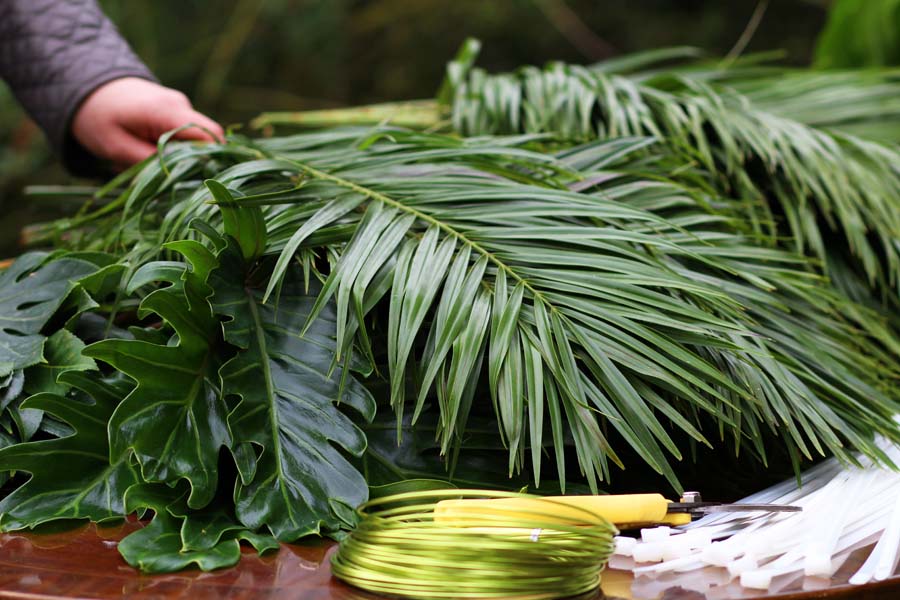
– Floristry wire
– Cable ties
– Scissors or secateurs
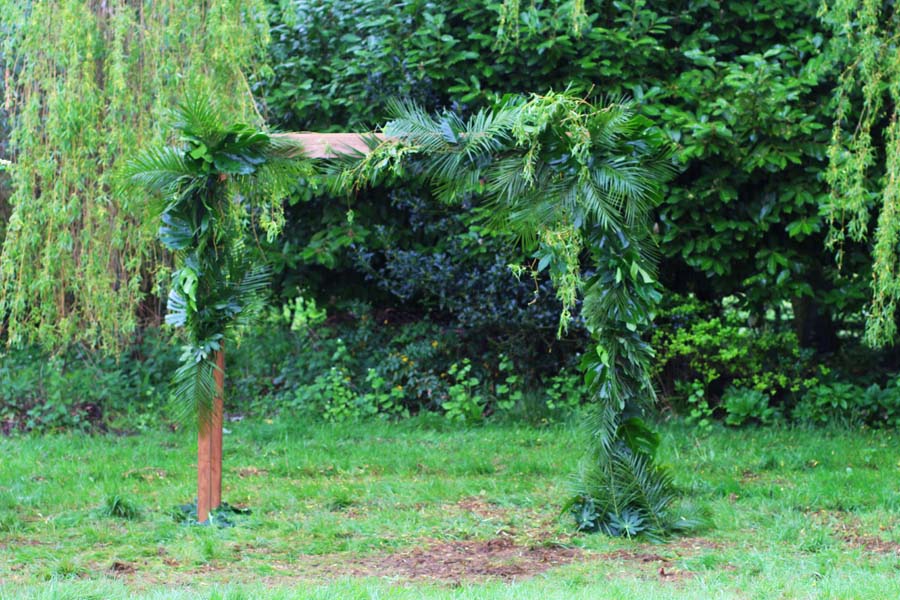
– A wooden arch (you can buy wooden frames from your local garden centre)
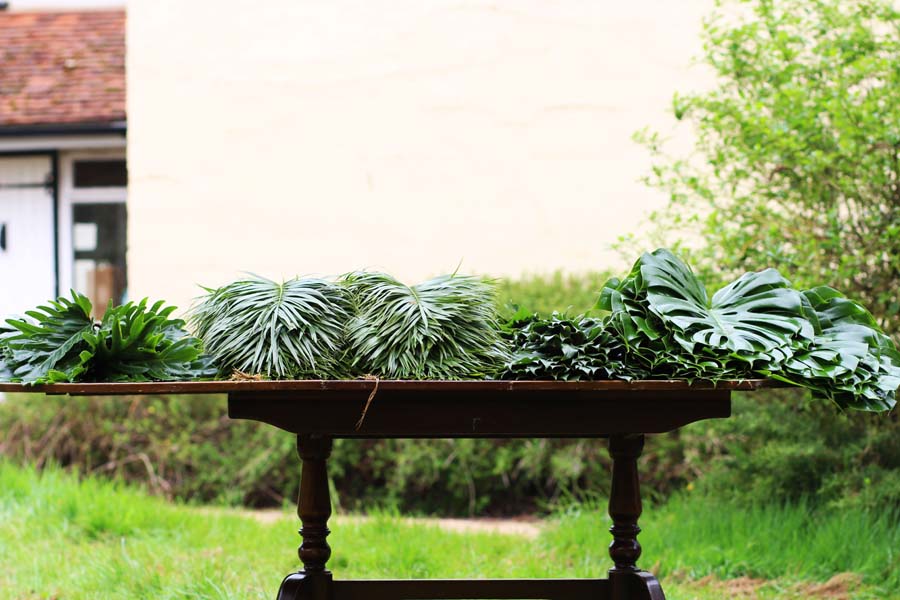
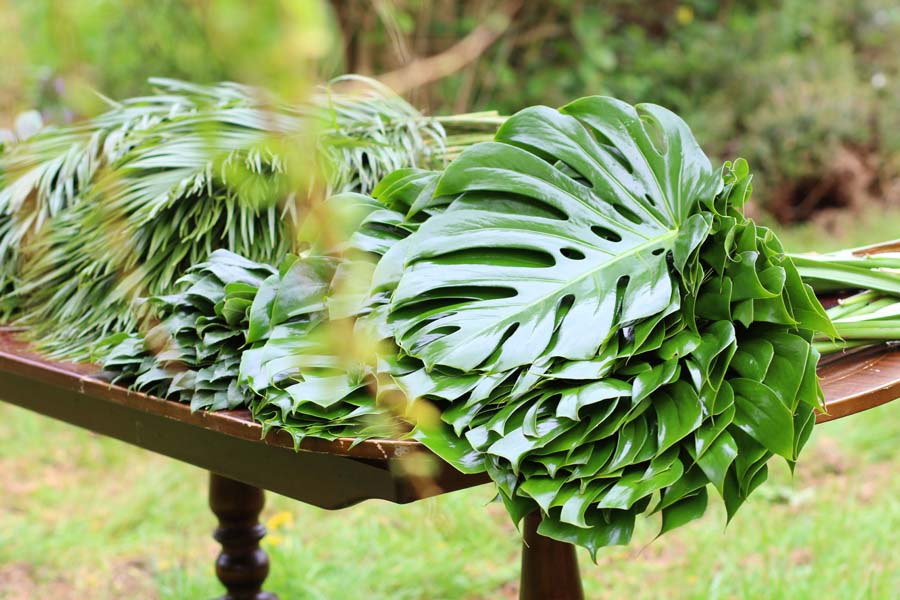
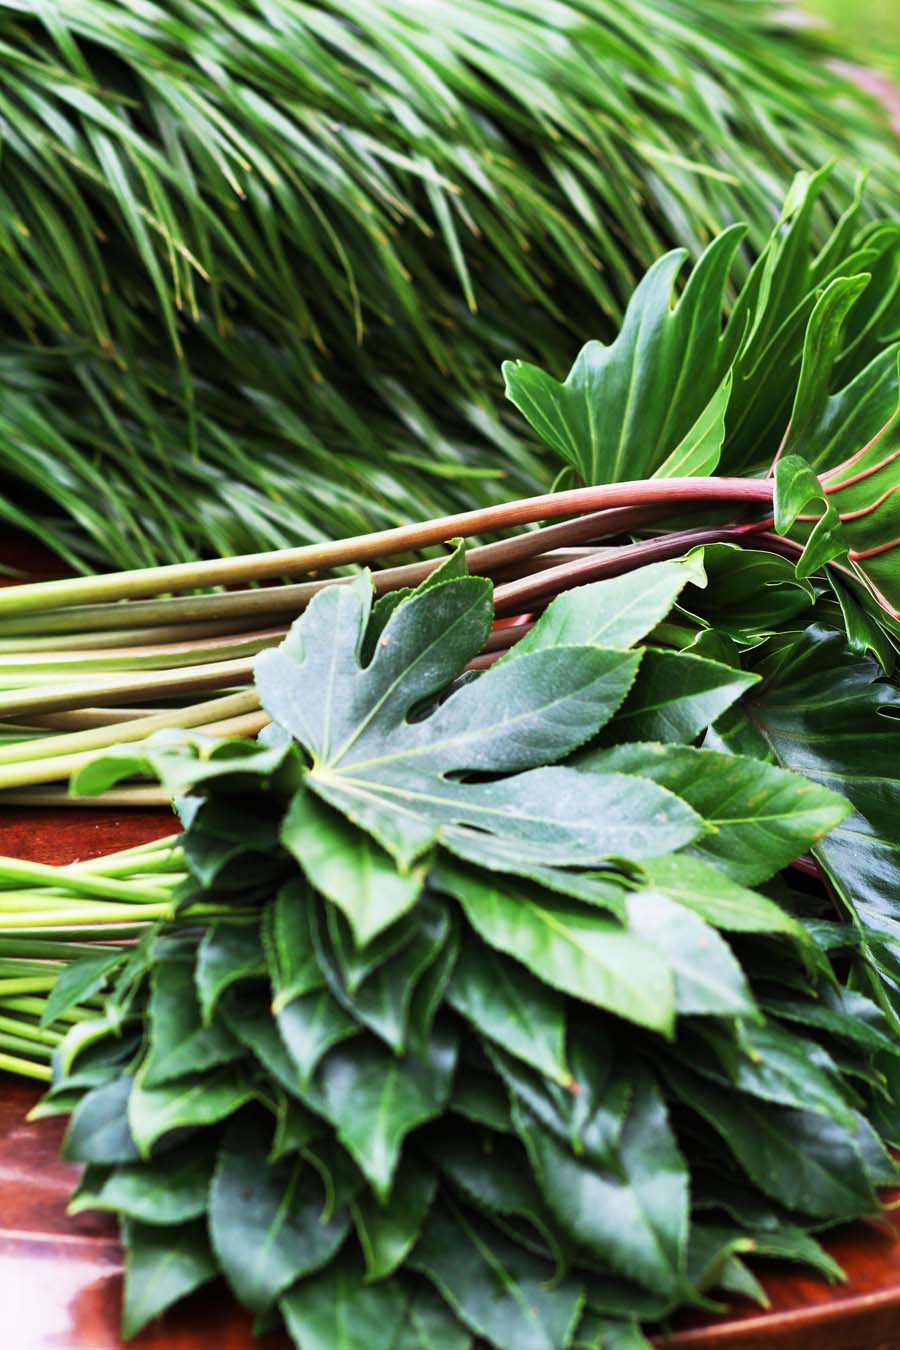
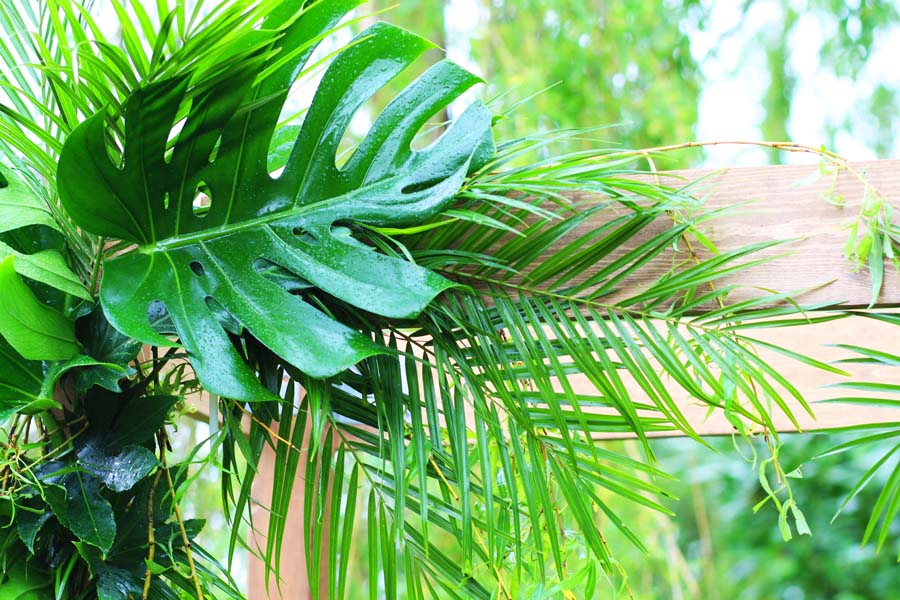
– A box of palm leaves
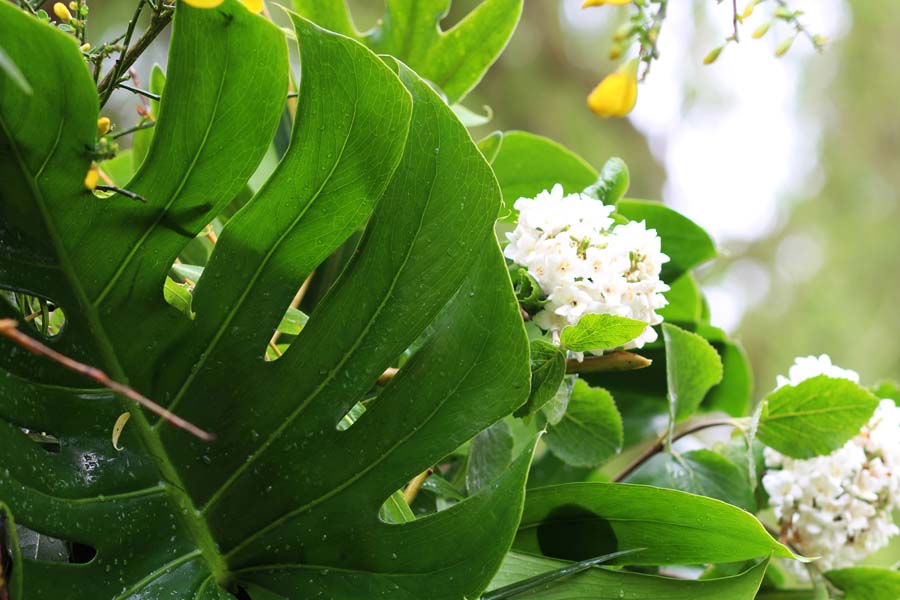
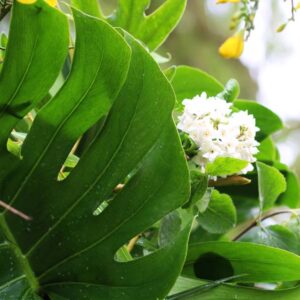
– A box of Monstera
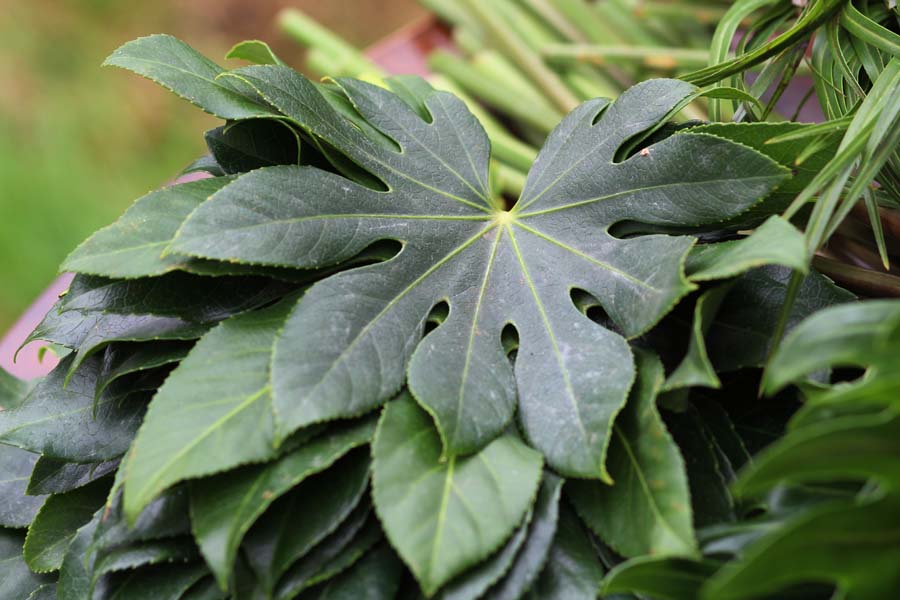
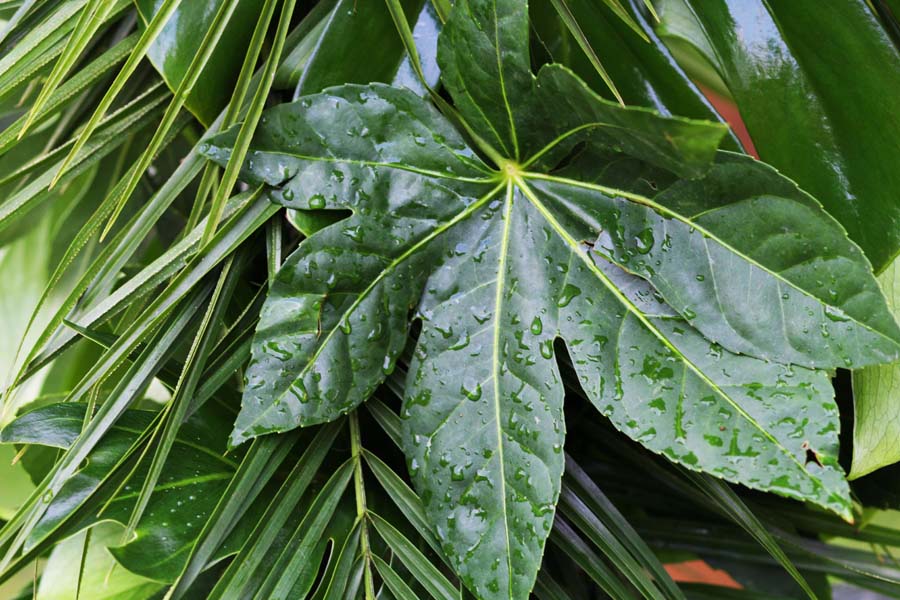
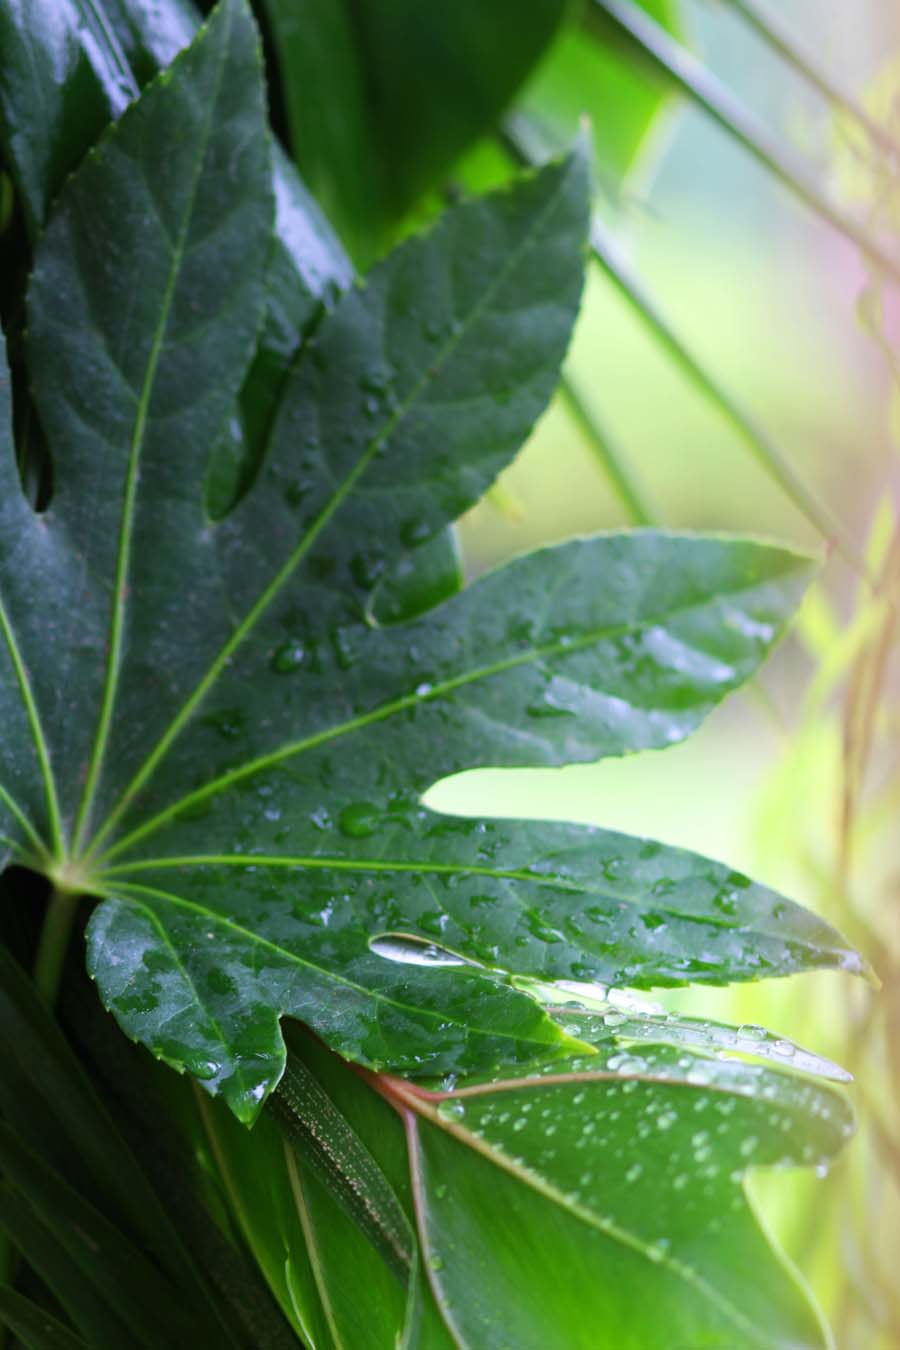
– A box of Aralia leaves
– Some freshly picked willow or ivy vines
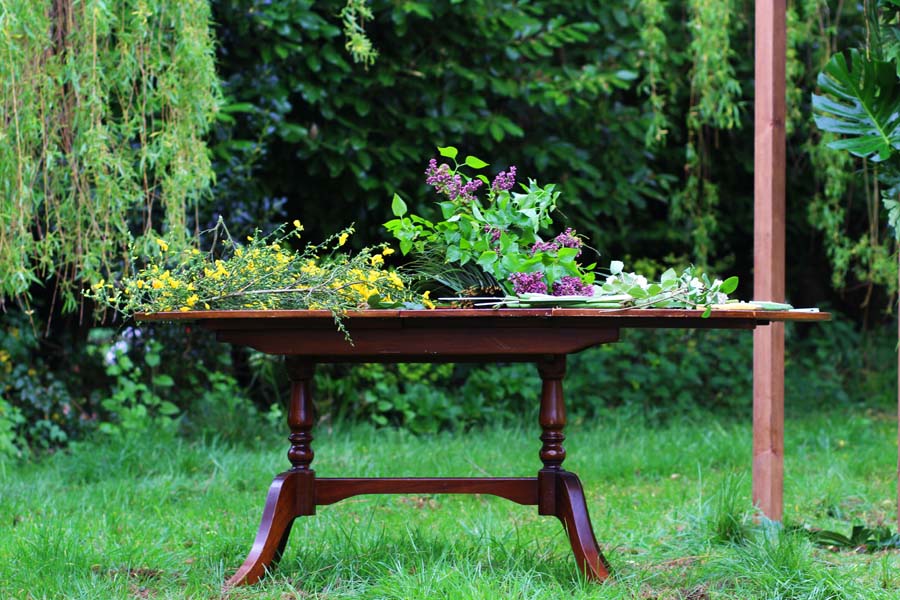
– A few stems from your garden if you want to introduce fresh flowers into your design
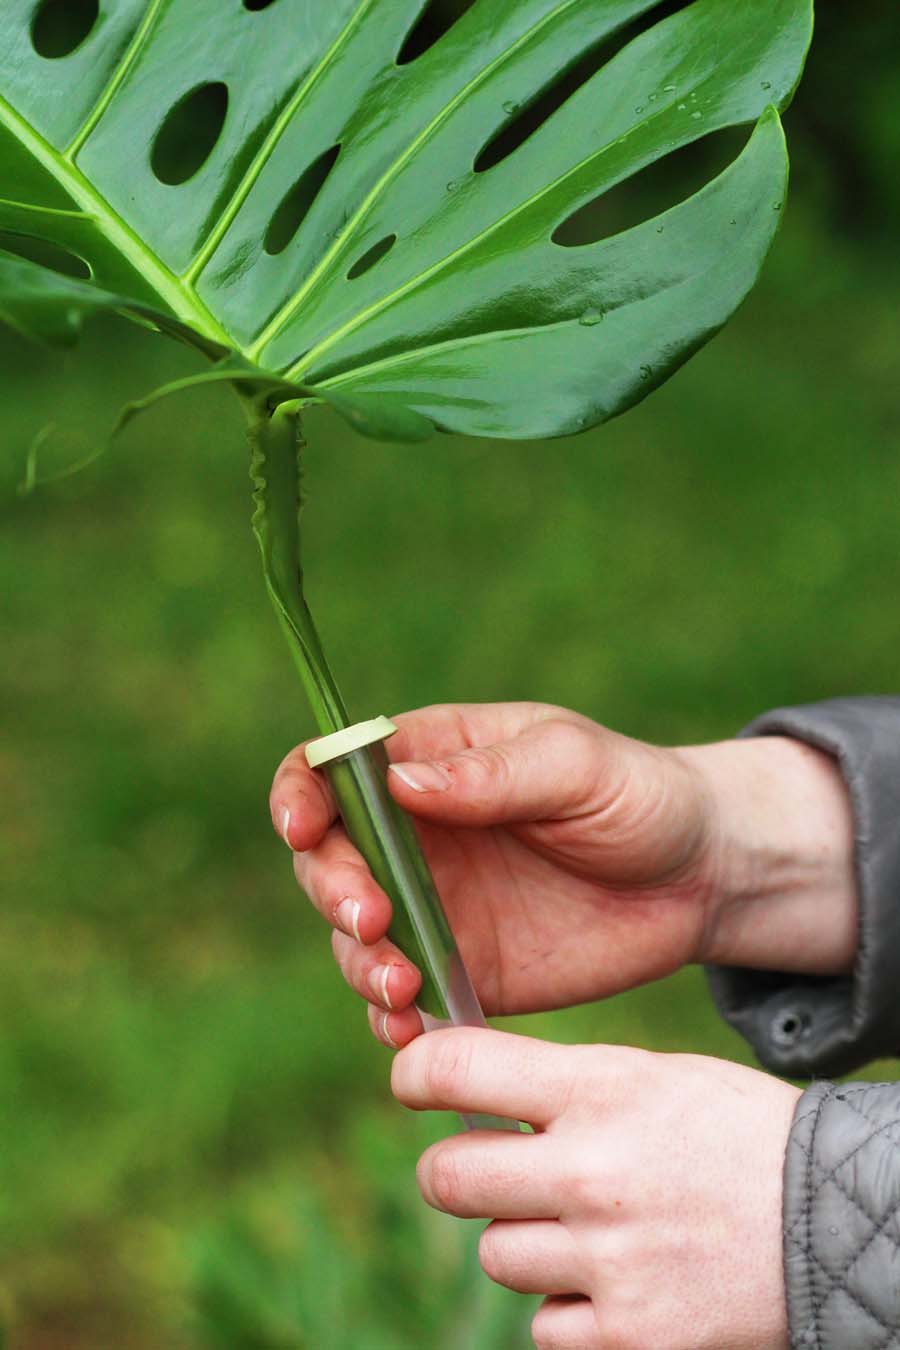
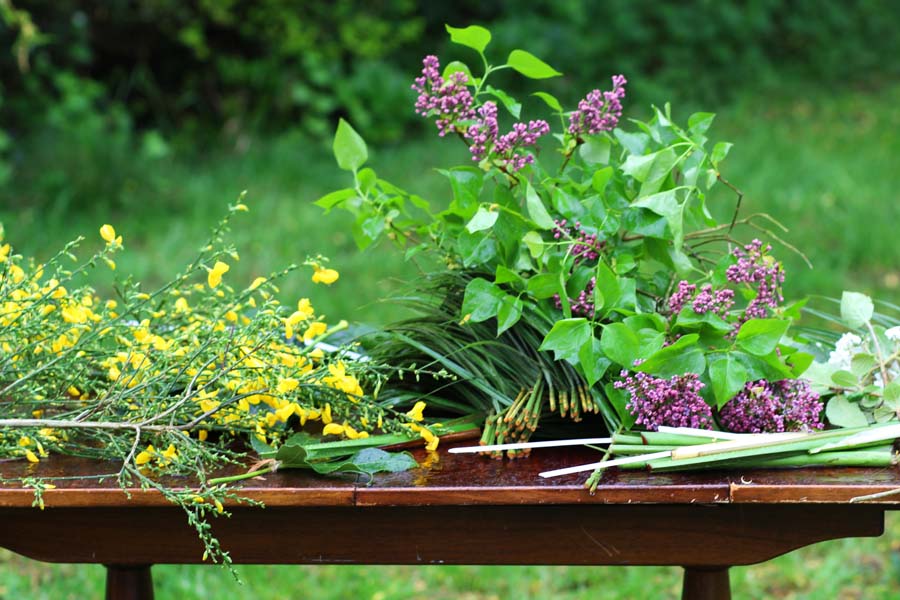
Step One
Although these leaves are pretty hardy, if you are erecting your arch a day or so before your wedding day, it could be a good idea to cap your leaves in water tubes to keep them fresh. If you are putting up your arch on the same day as your wedding and it isn’t very hot, you can probably skip this step!
Lay out all your palms into each variety on a large table so you can see what you’ve got to work with.
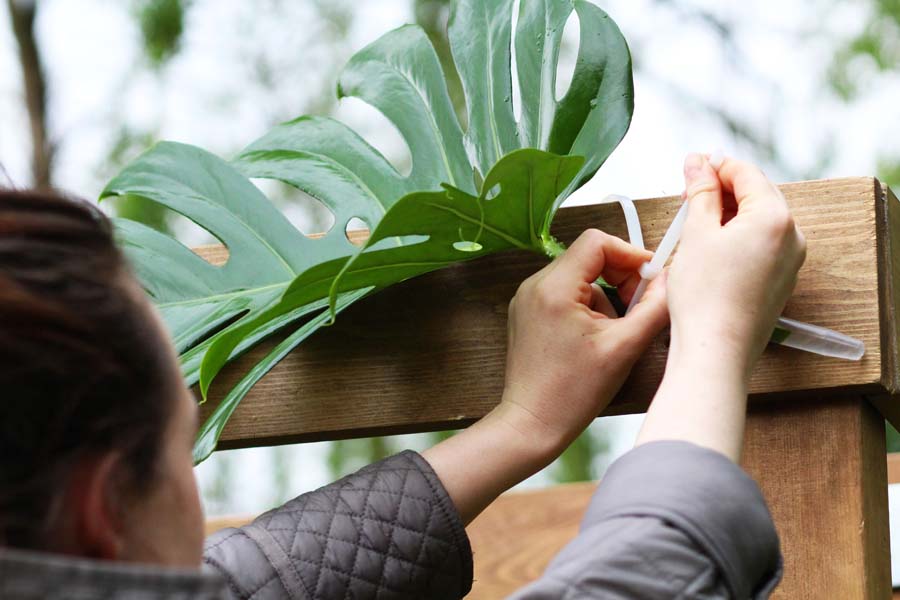
Step Two
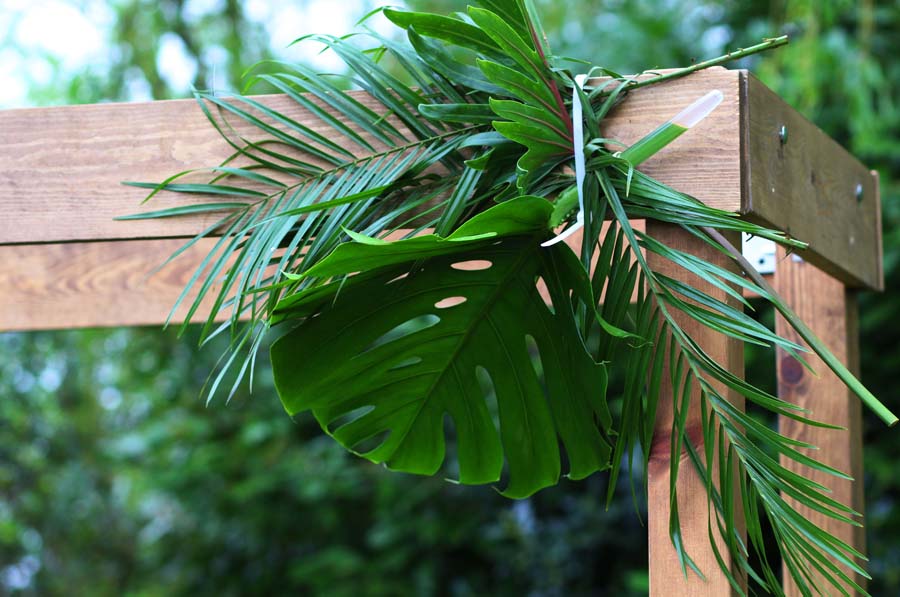
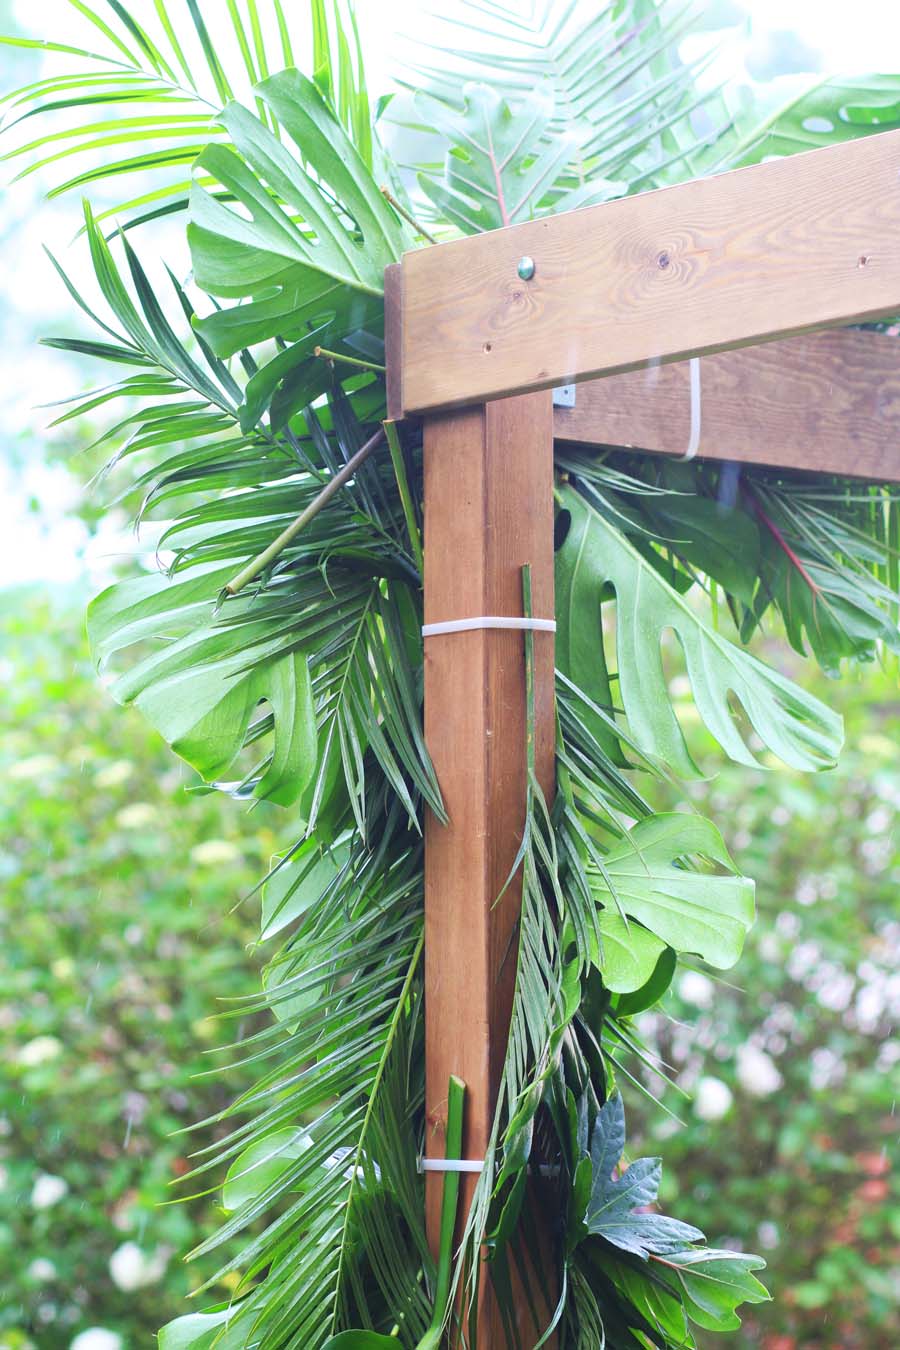
Start in the corner of your arch and place your largest leaf on the top beam. Secure it in place with a cable tie, and tighten. Don’t tighten it too much as you need to use the cable tie as an anchor for the other leaves. Make sure the leaf is facing inwards towards the middle of the arch.
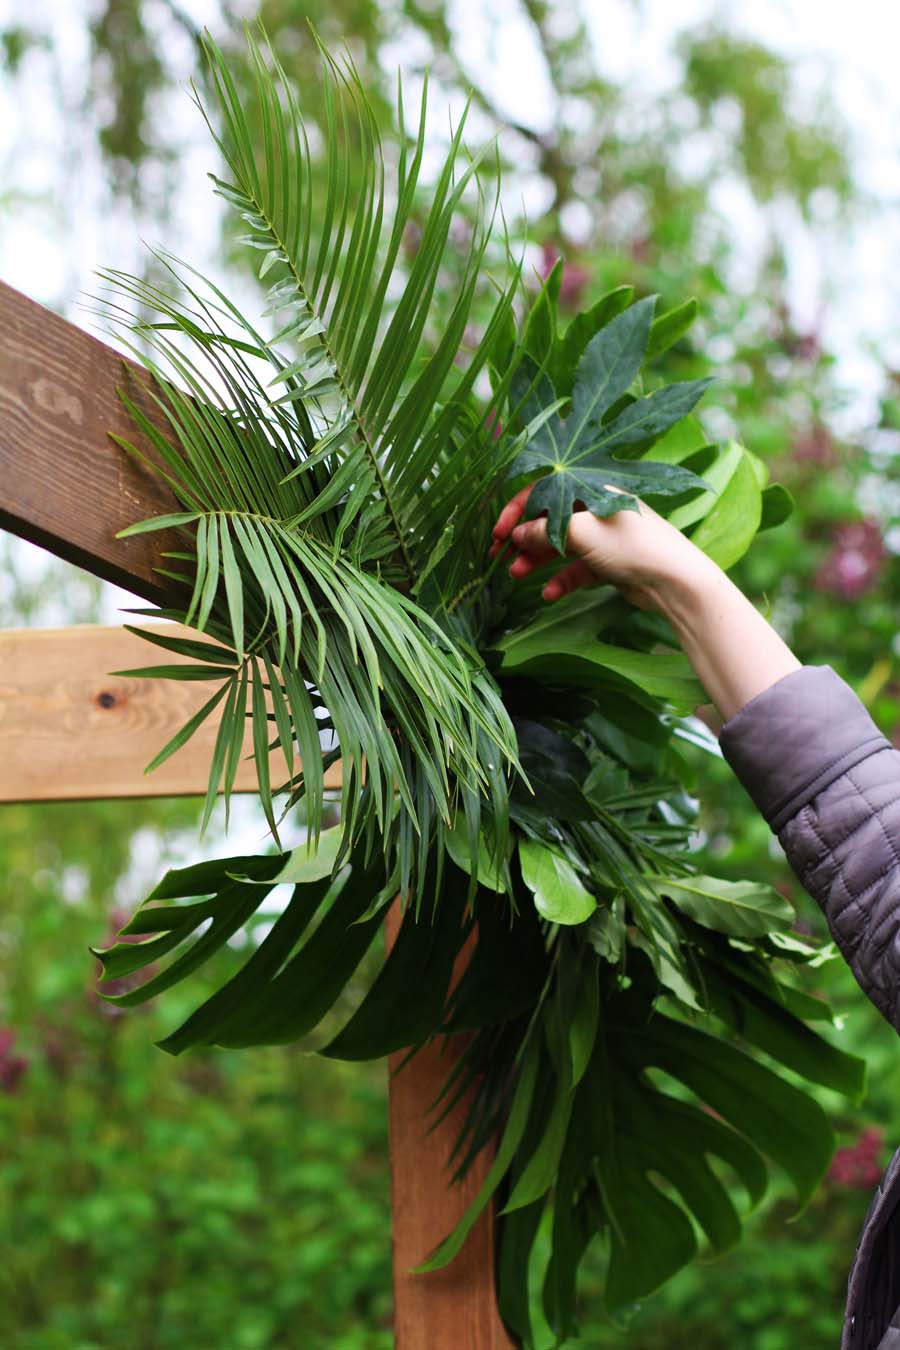
Start positioning palm leaves around this first monstera, mostly placing them underneath the largest leaf. The palms can be fanned out in either direction, fanning across the top beam, and down the side beam. Always place the leaves underneath the cable tie as this is what is going to be holding them all in place.
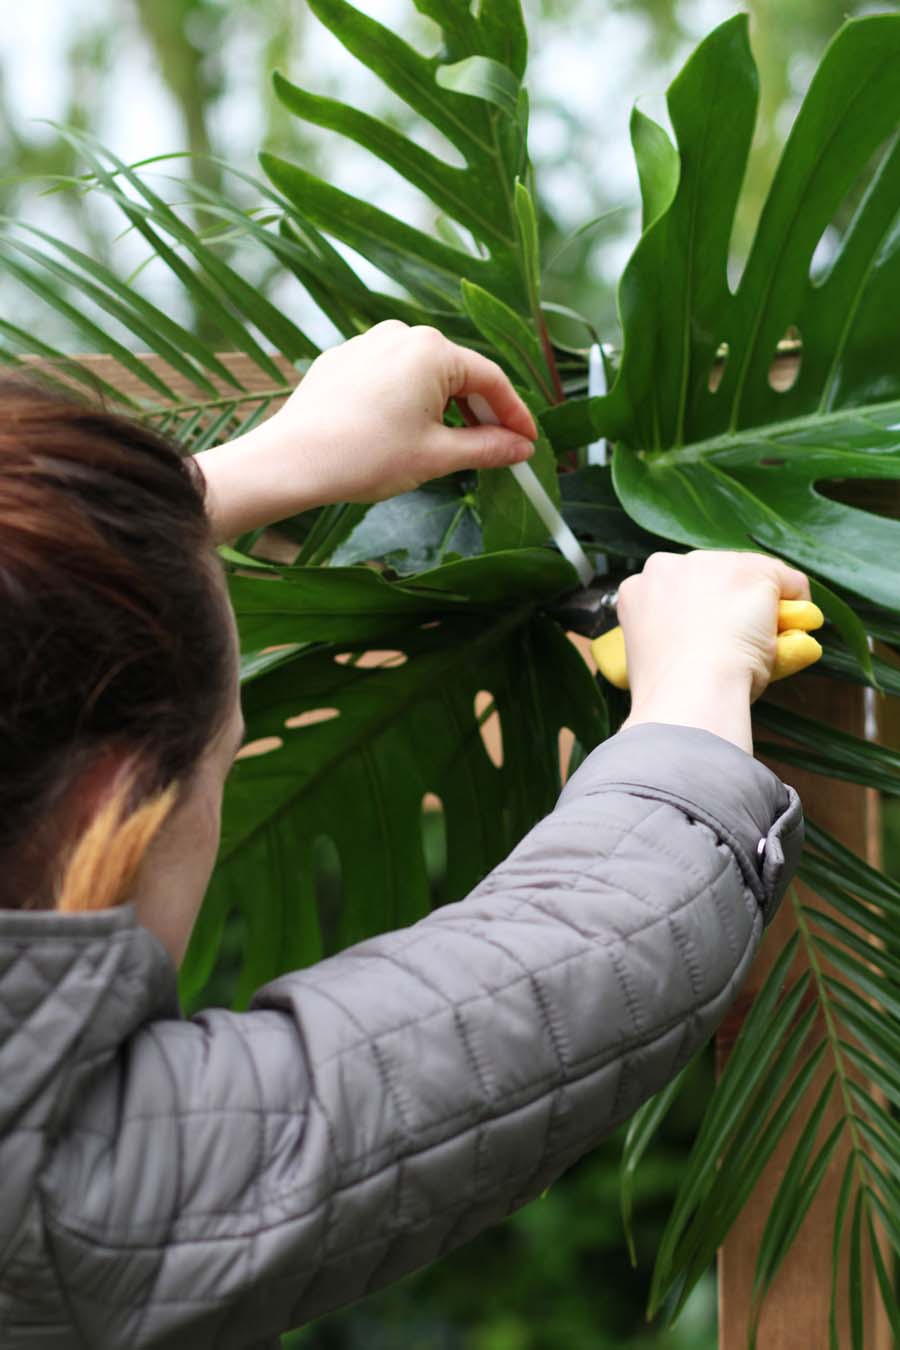
Once the first cable tie is full and you can’t fit any more leaves underneath it, tightly pull it to secure the first set of leaves, and then chop off the large plastic tie so only the band around the leaves is visible.
You can start threading in your smallest Aralia leaves into this first cluster arrangement by intertwining it between the palm leaves. This will start to cover the white cable tie band.
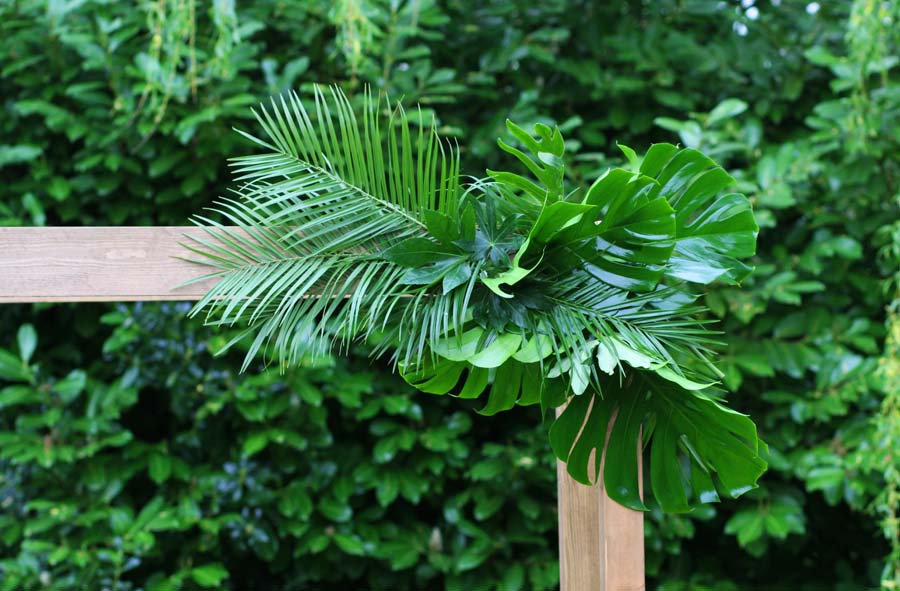
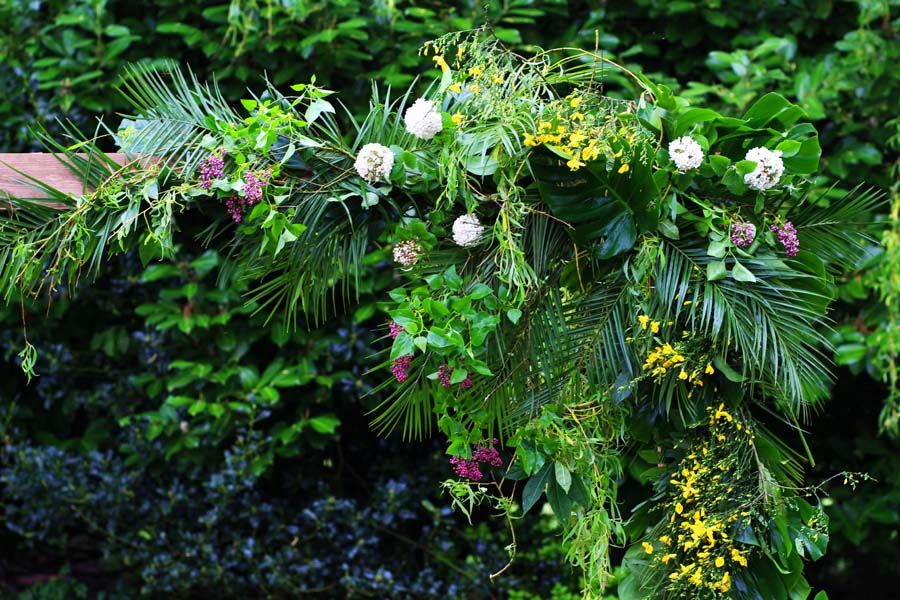
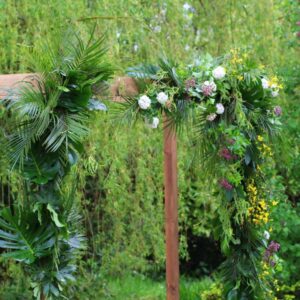
Your first cluster should be fanning out across the top beam and down the side beam. This will be the focal point of the arch and needs to be the most built up and thickest in texture. You can now carry on building the next clusters and come back to add more leaves to this part later.
Step Three
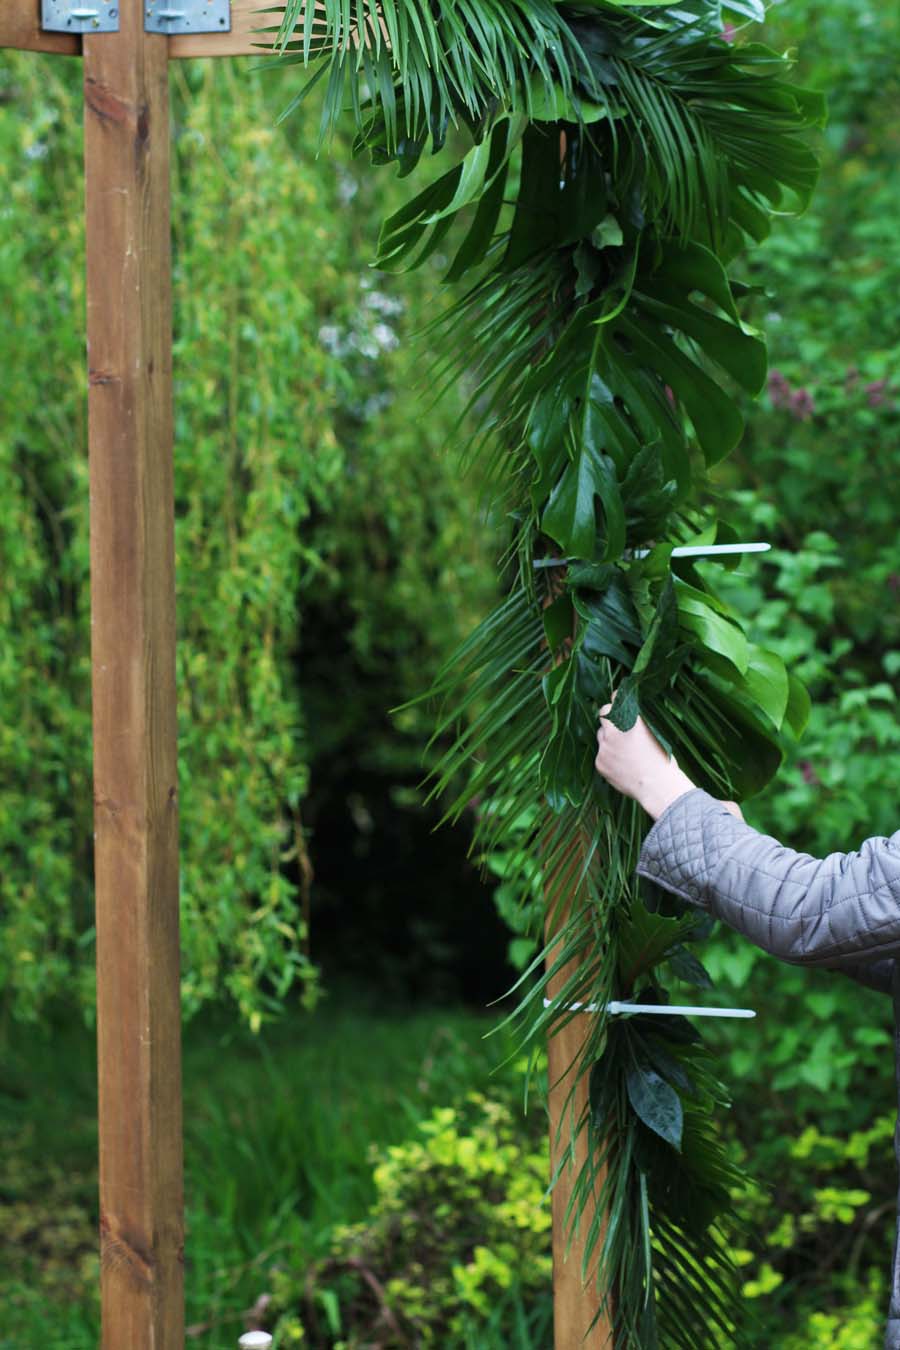
Work your way down the side beam by adding another cable tie and repeating the same cluster process again. You don’t need to fan the leaves in either direction this time, they just all need be pointing downwards towards the floor.
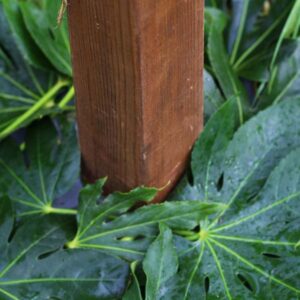
Make sure you don’t neglect the sides of the beam. You need to add foliage to the sides to make the front beam appear a good thickness. Work right the way down to the base and when you get to the bottom of the arch, start fanning your palms upwards.
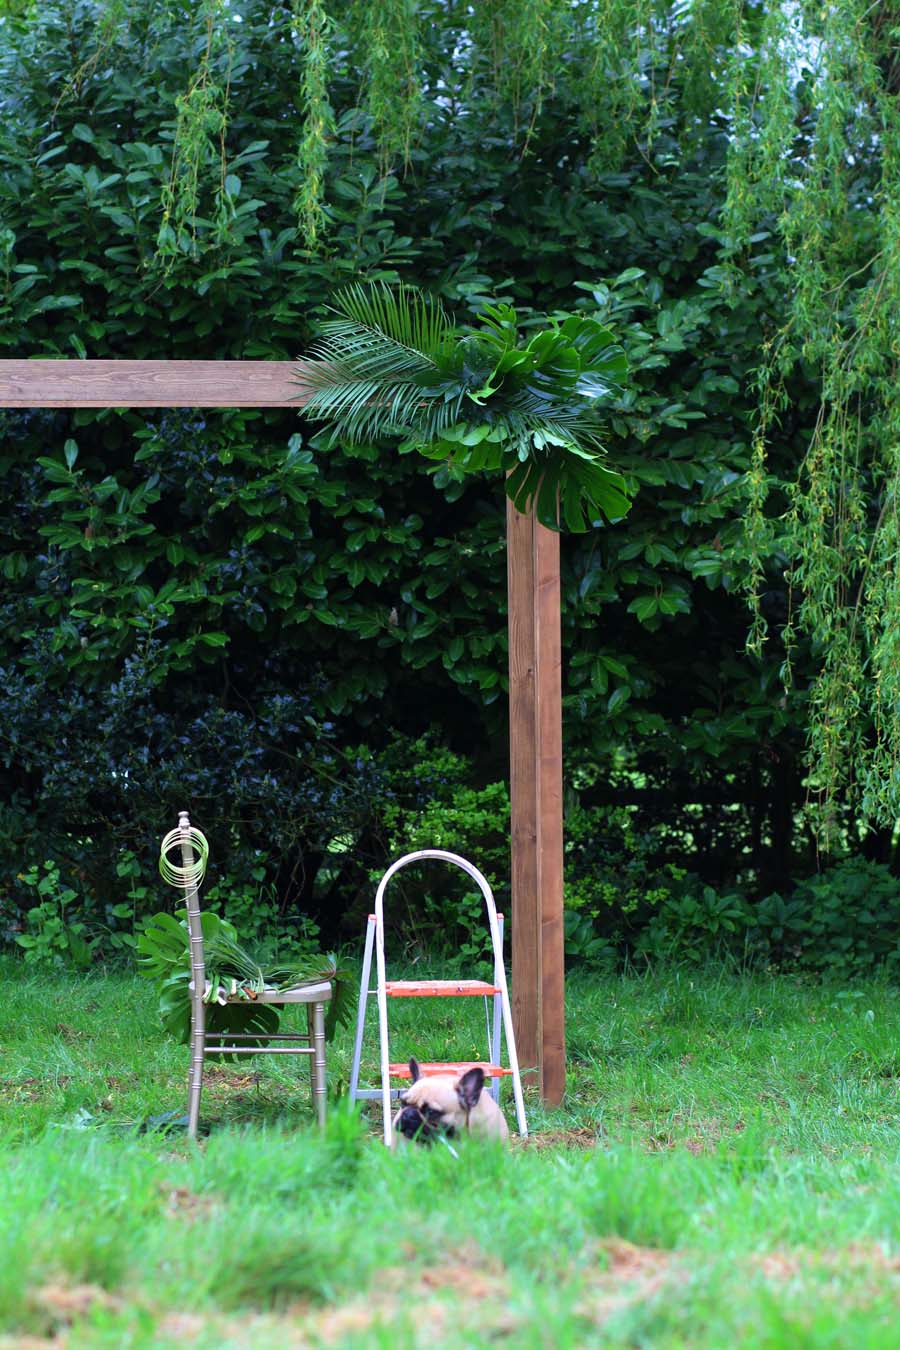
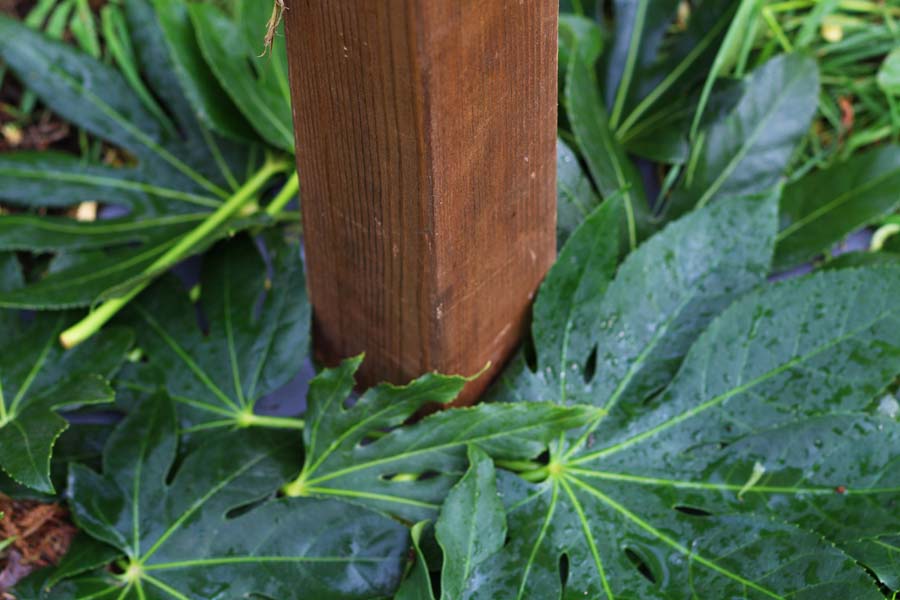
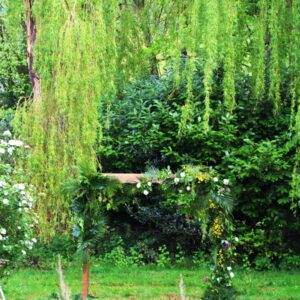
If you are doing this in a private garden, you might be able to stick the palms into the grass and they will look great swaying in the breeze.
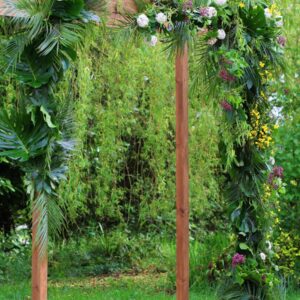
Now you can start working on the other side of your arch. I like to leave a gap in the middle of the arch where the wood shows through. This keeps the arch looking natural and effortless.
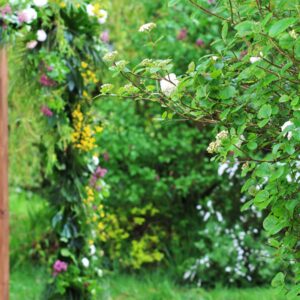
At this stage you might like to introduce some vines to the arch. I added willow vines over the top of the palms and twisted them around the back of the arch so they looked like they were growing out of the arch naturally. You can let them hang loose for a more ‘jungle’ effect.
Working on the other corner of the arch, you need to fan your leaves in the opposite direction to the other side. The two sets of arrangements should look like they are facing each other.
Repeat the same process of clustering as you did previously and work outwards out downwards. Leave the bottom of your wooden arch bare to tie in with the blank part at the top. You can cover any unsightly weights with smaller Aralia leaves.
And Voila! You’re done.


Step Four
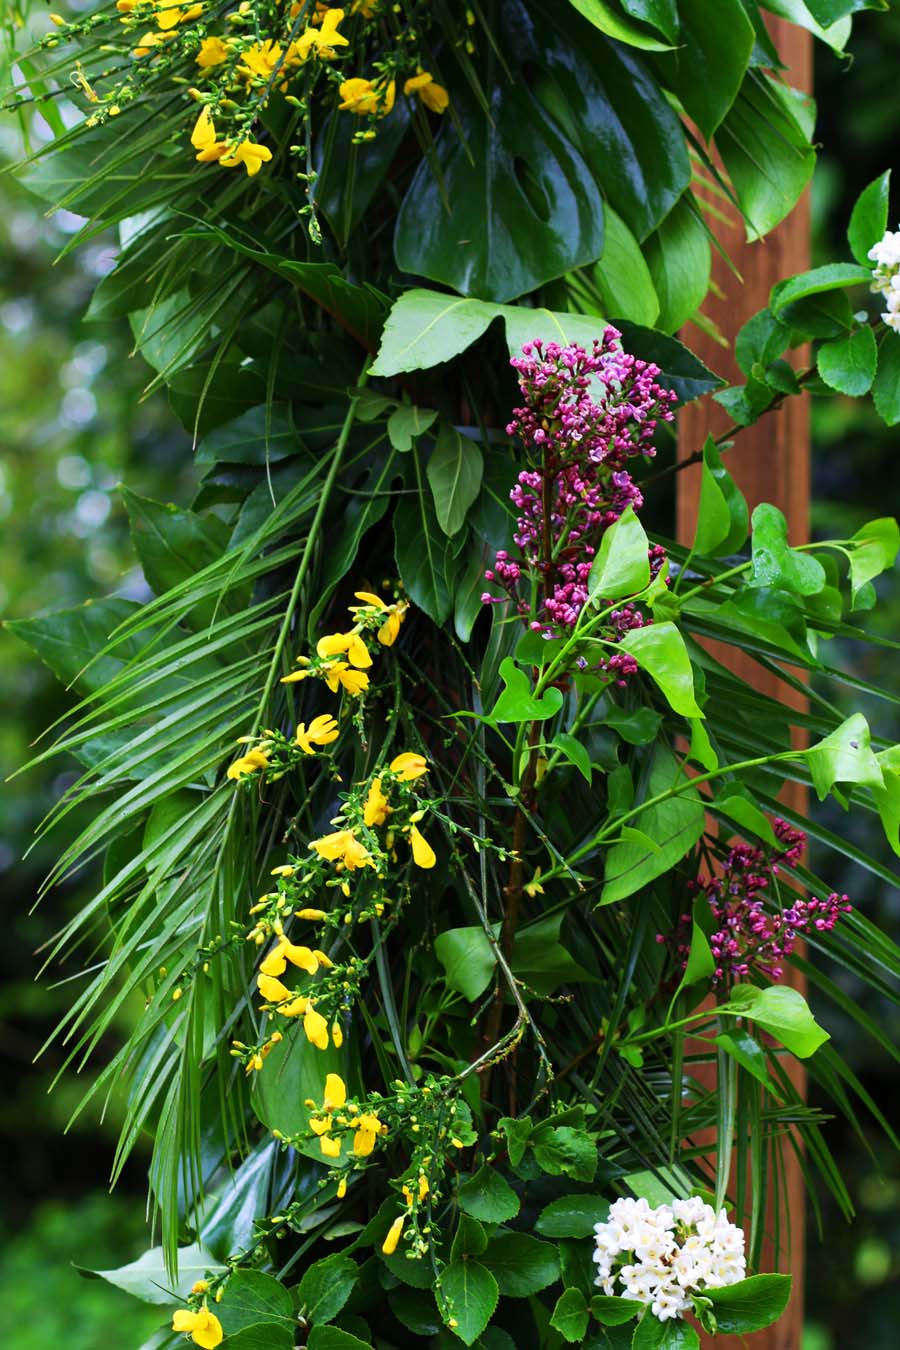
If you can’t resist using some colour, now is the time to add in any stems you can pick from your garden. This will give the effect of a wild garden and will make the arch fit into your surroundings so perfectly.
By now your arch will be thick with leaves and you will be able to thread your flower stems into the textured leaves without needing to secure them with cable ties.
Keep the corners heavy, following the same pattern you created with your leaves, add in the flowers to the thickest part of your arch and let them trail towards the middle of the arch across the top beam, and down towards the floor.


What an absolutely fabulous ‘how to’ tutorial. I love the simplicity and effortlessness of a foliage ‘floral’ arch. Are you planning to follow this fab wedding DIY? Please do share your thoughts and experiences.
Massive thanks to Fiona at Revival Rooms for producing this brilliant wedding tutorial feature.

Revival Rooms create beautiful displays for weddings, birthday parties, corporate events and Afternoon tea parties. The creations that Revival Rooms design have only one element in common: They are all tailored specifically to each individual client’s event. No event, or floral arrangement will ever look the same, which is what will make your event truly unique.
 View the Gallery