Morning my loves! Today is a très très exciting day for me ~ my lovely hubs is taking me to the Olympics Opening Ceremony Concert in Hyde Park. I’m really looking forward to it and I’m praying that the rain holds off so I can wear pretty sandals and not wellies! I’ll let you know how it goes :)
I have an excellent post today on how to create rustic / shabby chic wedding decor… the lovely Sarah or Sarah Goodwin Photography helped to style her friends rustic chic wedding for well under $500 dollars (around £300) and Sarah’s been incredibly kind not only share the gorgeous images but also advise us on how to DIY / create this pretty look. Enjoy. XxX
© Sarah Goodwin Photography 2012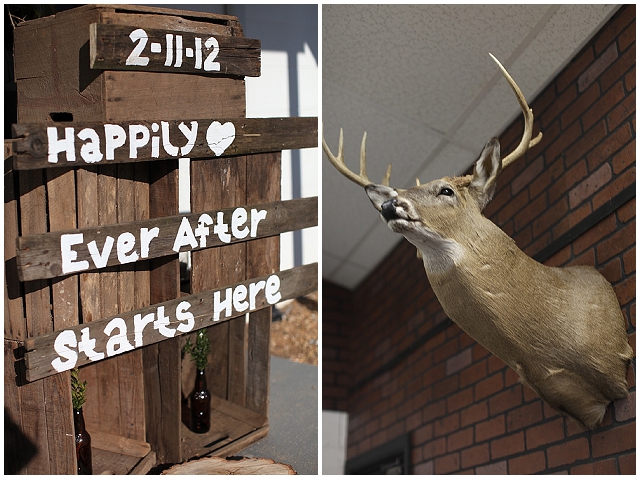
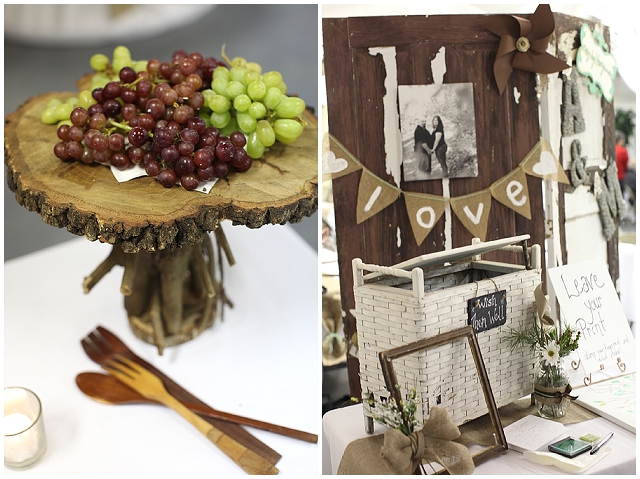
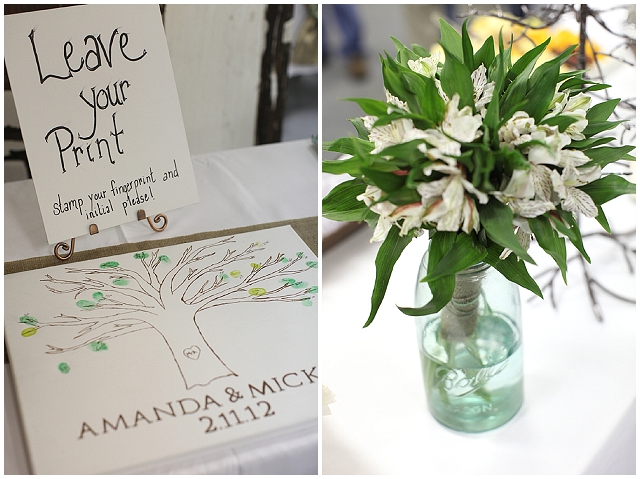
We pulled this wedding together & created the decor for this wedding in less than 30 days, less than $300 and all DIY using borrowed and used materials that we “upcycyled”.
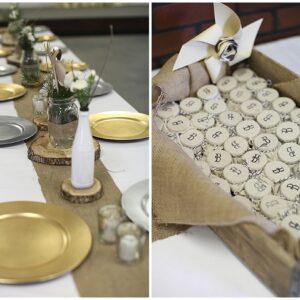
Centerpieces:
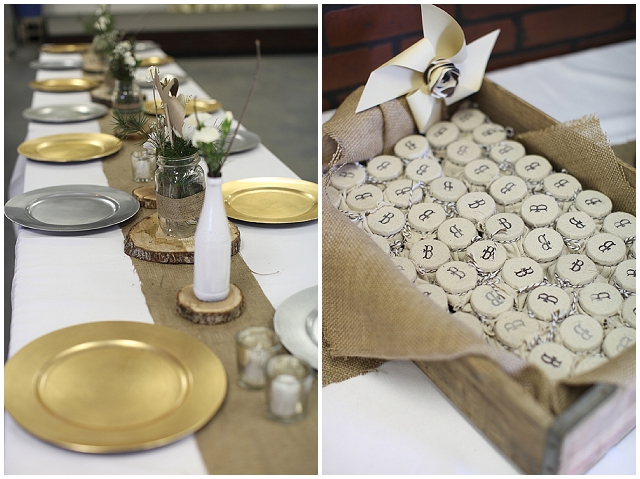
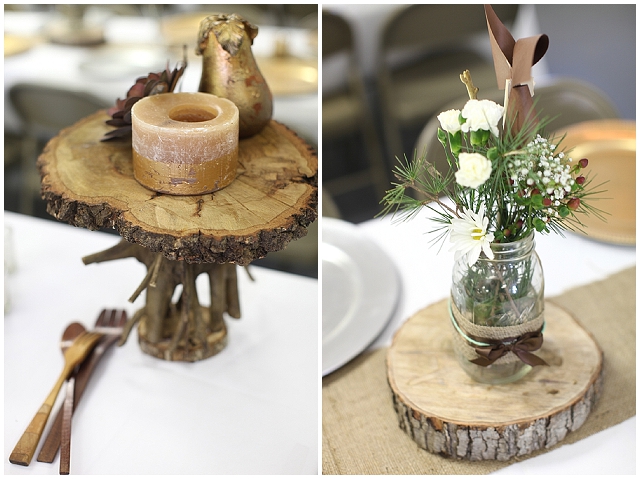
Materials: Mason jars/burlap/paper doilies/love stamp with gold ink/wood slices
Mason jars we collected from friends & family.
Wrapped a 3 inch strip of burlap around them & secured with glue.
Paper doilies stamped with “love” in gold ink and secured to burlap with glue
flowers were a mix of carnations and babysbreath purchased from grocery store and pine cones/pine needles/berries found in the woods outside of the building
Yarn Jars:
Rootbeer glass bottles/beer bottles rinsed out. Yarn/glue
Starting from the top of the bottle, glued a piece of yarn/twine and started to tightly wrap the yarn/twin around the bottle so that it was complete covered and there were no holes. At the botton of the bottle secured with glue.
Centerpiece Stands/chargers:
Materials: Round slices of tree wood & stumps/industrial glue/nail gun
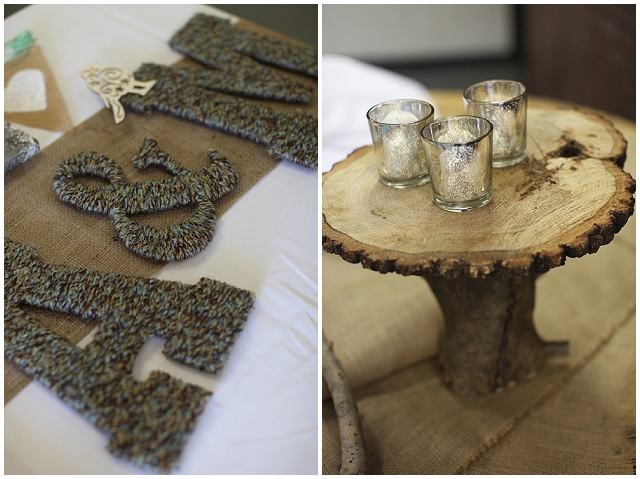
Cut 2 sizes of wood from fallen trees so that we had 2 varying cuts for the centerpieces/bottles. We choose a tree trunk about 6 inches in diameter and cut it horizontally @ less than 1 inch thickness. We also choose a tree trunk about 12 inches in diameter and cut around 2 inch thickness. We put the centerpieces on top of these and ran along the table.
Food platter/display
Materials: tree wood/industrial glue/nail gun
Cut a tree trunk about 6 inches in diameter horizontally @ less than 2 inches thickness. Cut a thick branch or a thin trunk to create the base of the display-make sure you make a straight cut so it fits flush and sets even on the table. Using heavy duty glue, glue the branch/trunk to the round wood to create a “table”. Use nail gun to reinforce it
Pinwheels:
Materials: scrapbook paper/glue/wooden craft sticks)
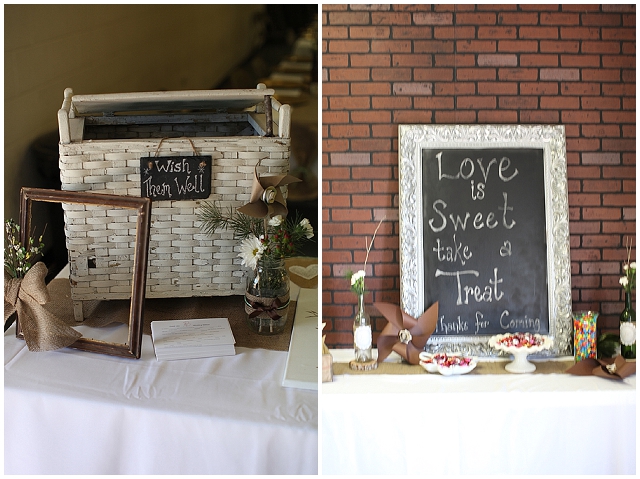
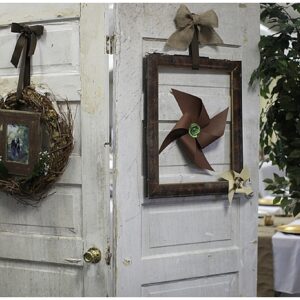
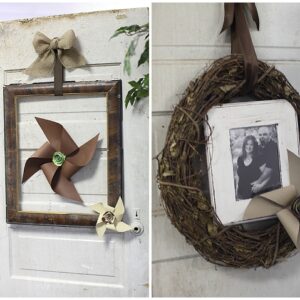
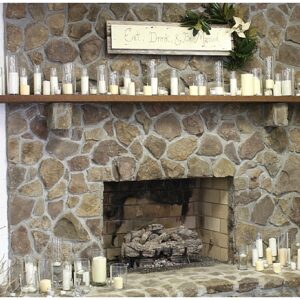
Using a tutorial we found on Pinterest we created a variety of pinwheels to add to the centerpiece jars as well as wall decor. I would suggest using a heavy duty glue to secure them so they don’t come apart.
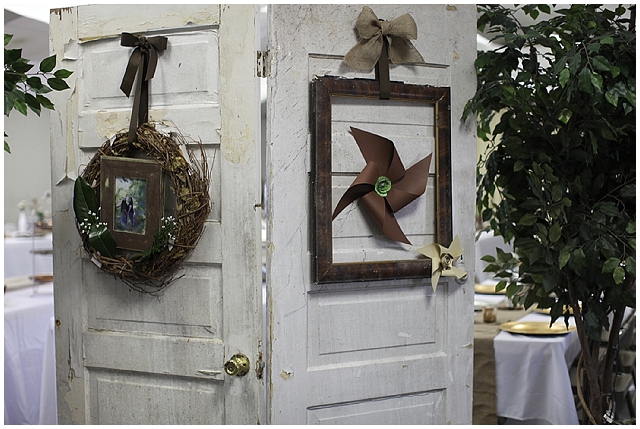
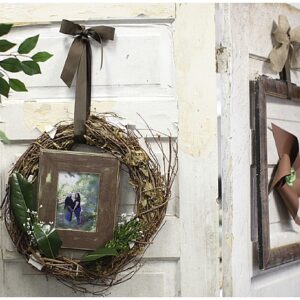
The wooden doors were purchased from an antique shop (4 total) and 2 doors were attached using hinges & a nail gun in order to create a hinged partition. One for each side of the entrance to the site/aisle. No changes were made to the doors, the chipped paint and variety in the colors added to the rustic look!
Grapevine wreaths were attached with ribbons and each wreath had a framed photo of the couple secured to it.
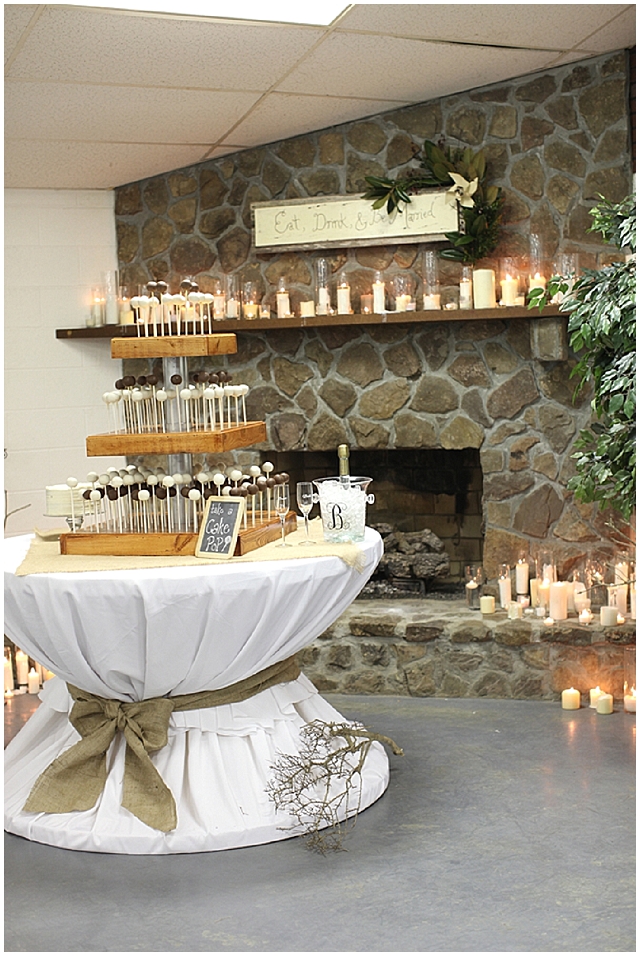
Cake Pop table:
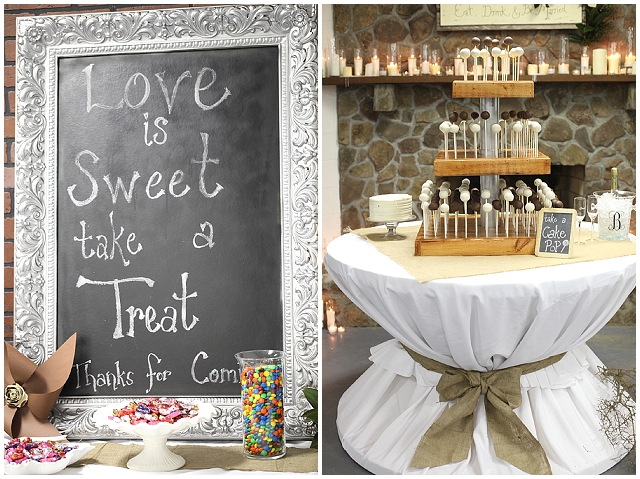
A large electrical wire spool covered with white table cloths and ribbon.
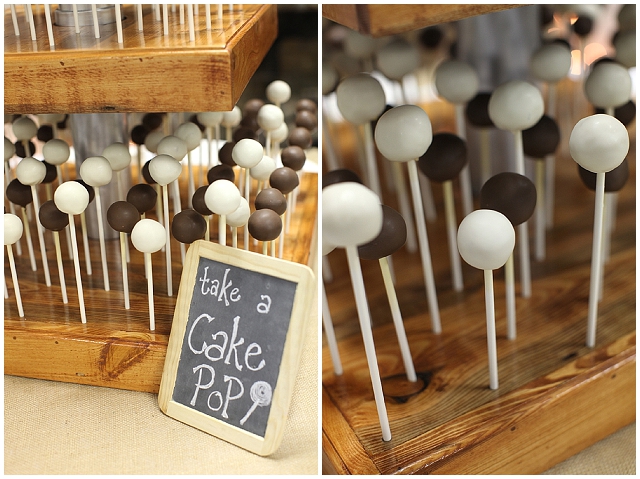
The Cake table stand was made by the Bride’s brother in law using scrap construction wood and trim to create a tiered tower. Holes were drilled with an electric nail gun for the cake pop sticks to fit into.
Cake pops made by sister-in-law
Strips of white sheer fabric were draped from the center of the room to the walls to create a canopy look. In the middle a chandelier was placed.
Chandelier:
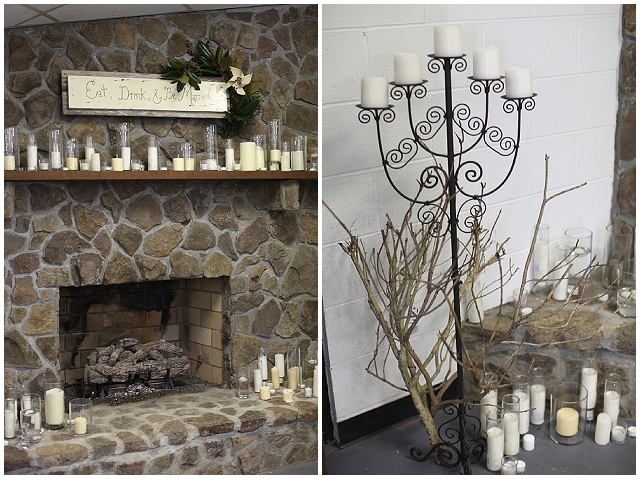
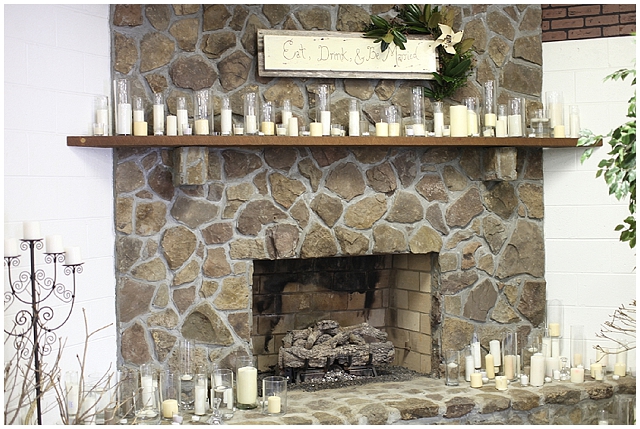
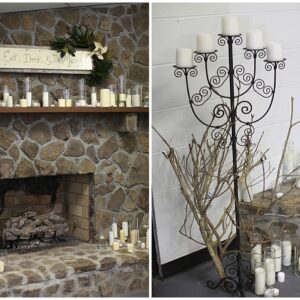
old chandelier spray painted silver, heavily covered with twigs & berries we found in the woods and secured using floral tape. Votive candles were places on the chandelier where the lights would have been, secured with putty.
Favor Table:
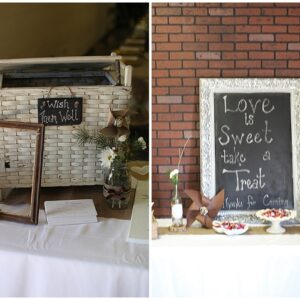
Old frame with plywood spray painted with chalboard paint. Wrote “love is sweet take a treat” on it with chalk.
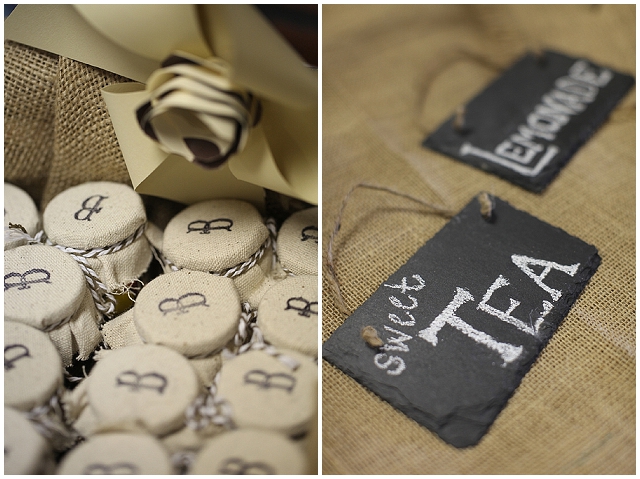
Old orchard wooden box to hold the jars of candy (jars from Michaels stamped with the initial “B”)
Guest Table:
Wooden doors hinged.
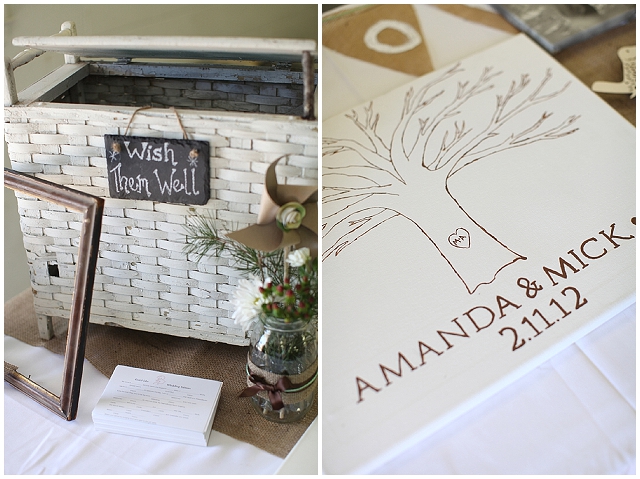
Guest “book” canvas – Bride’s brother painted a tree & lettering. Guests used ink to “leaf their print” and write their name
Mad Libs – format found online and notecards made for guests to fill in the blank
Sign – made using Cricut
Wooden letters (from Michaels) and covered in yarn, adorned with wooden laser cut bird (Michaels)
Thank you so much for sharing Sarah. I do hope you lovely brides-to-be find this inspiring, I am SO IN LOVE with those rustic / shabby chic doors!? For more rustic wedding inspiration, please follow the link!
 View the Gallery


Their is only one possible word…LOVE…its amazing
Aw thanks so much for your kind words Alison! I’m sure Sarah will be dead chuffed XxX
:) Thanks for the feature & kind words! We had so much fun creating the theme & details to go along with the woodsy and rustic vibe. I loved thinking outside of the box to create unique pieces with natural materials & recycling. I love those doors too, one of my favorite details.
Sarah made my dream come to reality with her amazing ability to transform the ordinary to extrodinary. She is so talented and brillant. It is because of Sarah we were able to create this perfect day in 30 days. Every element fell into place and was beautiful. Thank you just isnt enough but thank you Sarah and thank you Sonia for posting.
You’re welcome Amanda! Such gorgeous wedding inspiration! XxX
This all looks incredible! I especially love the little cloth caps on the jam jars. So sweet!
Comments are closed.